
CANNING RECIPES

DIY Chalkboard Jar Labels

Updated

Turn canning jar lids into reusable chalkboard labels with a little chalkboard paint, a perfect finishing touch for homemade jams and gifts in jars.

Prep
15 min
Cook
0 min
Total
24 hr 20 min
Yield
Labels for 12 jar lids (easily scaled)
Illustration of DIY Chalkboard Jar Labels

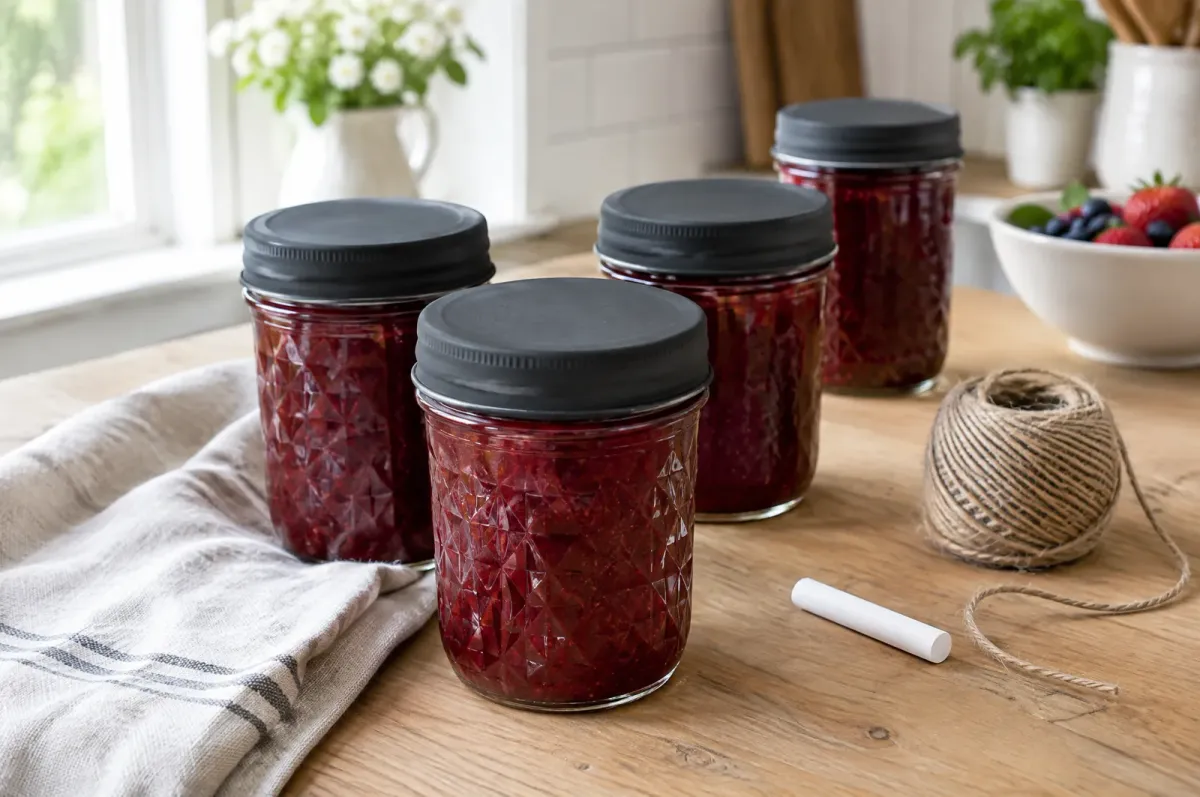
A dab of chalkboard paint on the flat lid of a canning jar makes a rustic label you can write on, wipe clean and write on again. It is a quick, inexpensive way to dress up jars of jam, preserves, spice mixes or cookie mix for gifting, and it is a craft project from the KitchenSimplicity archive.

Because the label sits on the lid rather than the glass, the jar itself stays clean for its next use, and whoever receives it can keep relabeling the lid for pantry storage. The only real wait is letting the paint dry.

Tips

  • Use the painted lids on jars that are already sealed and cooled, or on fridge, freezer and dry pantry jars. Do not put painted lids through a boiling-water bath, and use fresh, unpainted flat lids for any canning you process.
  • Chalk markers give sharper, smudge-resistant lettering than regular chalk; wipe them off with a damp cloth.
  • The same idea works on any metal lid or tin, so you can label spice jars, gift tins and storage containers to match.
  • If a little paint flakes off around the edge, it simply adds to the rustic look, or touch it up with another coat.

DIY Chalkboard Jar Labels

Prep
15 min
Cook
0 min
Total
24 hr 20 min
Yield
Labels for 12 jar lids (easily scaled)

Ingredients

  • 12 flat canning jar lids with their screw bands, regular or wide-mouth
  • Chalkboard paint (a small 8 oz can is plenty)
  • Small flat or round paintbrush, about 1/2 inch wide
  • Rubbing alcohol or dish soap and water, for cleaning the lids
  • Spray or brush-on primer for metal (optional, for better adhesion)
  • White chalk or a chalk marker
  • Soft dry cloth or paper towel
  • Fabric scraps, ribbon, twine or gift tags, for decorating (optional)

Steps

  1. Unscrew the bands and set them aside so you can work on the flat lids alone.
  2. Wash the tops of the lids with warm soapy water or wipe them with rubbing alcohol, then dry well. Clean, grease-free lids help the paint stick and keep it from peeling later.
  3. If you want a more durable finish, apply a thin coat of metal primer and let it dry according to the label.
  4. Brush chalkboard paint over the center of each lid, leaving a thin unpainted rim if you like. Brush strokes add to the handmade look, so it does not need to be perfect.
  5. Let the paint dry completely, usually about 24 hours; follow the drying time on your paint. Add a second coat for a sturdier surface if you prefer, and let it dry again.
  6. Condition the chalkboard: rub the side of a piece of chalk over the whole painted area until it is evenly gray, then wipe it off with a dry cloth. Keep rubbing if the chalk seems to skip at first; it grips better as you go.
  7. Write the contents, date or a to-and-from note on each lid with chalk or a chalk marker.
  8. Set the lids on filled jars, screw the bands back on, and tie on fabric, ribbon or a tag if you are giving them as gifts.