Classic Gingerbread Cookies (& how to use them to trim your tree)
Every year our Christmas is just a little bit different then the year before. Next month Alli is turning four and it will be the first time that we have lived in the same house for two birthdays in a row. I guess it’s not just our Christmases that change from year to year. 😉 This is why Christmas traditions are so important to me. Even if our location changes, and the actual celebrations are different from year to year, there will be those constants that the kids have to look forward to and those things that we do every year that just make it feel like Christmas.
We’ve been making gingerbread cookies to decorate the tree since living in Oslo, before Alli was even born. It’s probably our longest standing tradition. But, last year was the first time that I found THE recipe. The one that we will make year after year and that my kids will think of as Mom’s gingerbread cookies. They are delicious enough to enjoy on their own, but are also sturdy enough to hold their shape and stand up well to little hands making and decorating gingerbread houses.
Last year I made an extra large batch and started off with cutting out our gingerbread houses, then moved on to the cookies for the tree, and lastly the cookies that were just for eating. This year we’re skipping the houses as we simply don’t have time and will be travelling over Christmas, so we went straight to the decorations and once we had enough for the tree we made the rest into cookies that we will be decorating later this week! I personally prefer eating these cookies on their own but the kids love decorating them, so we’ve got to do at least a few.
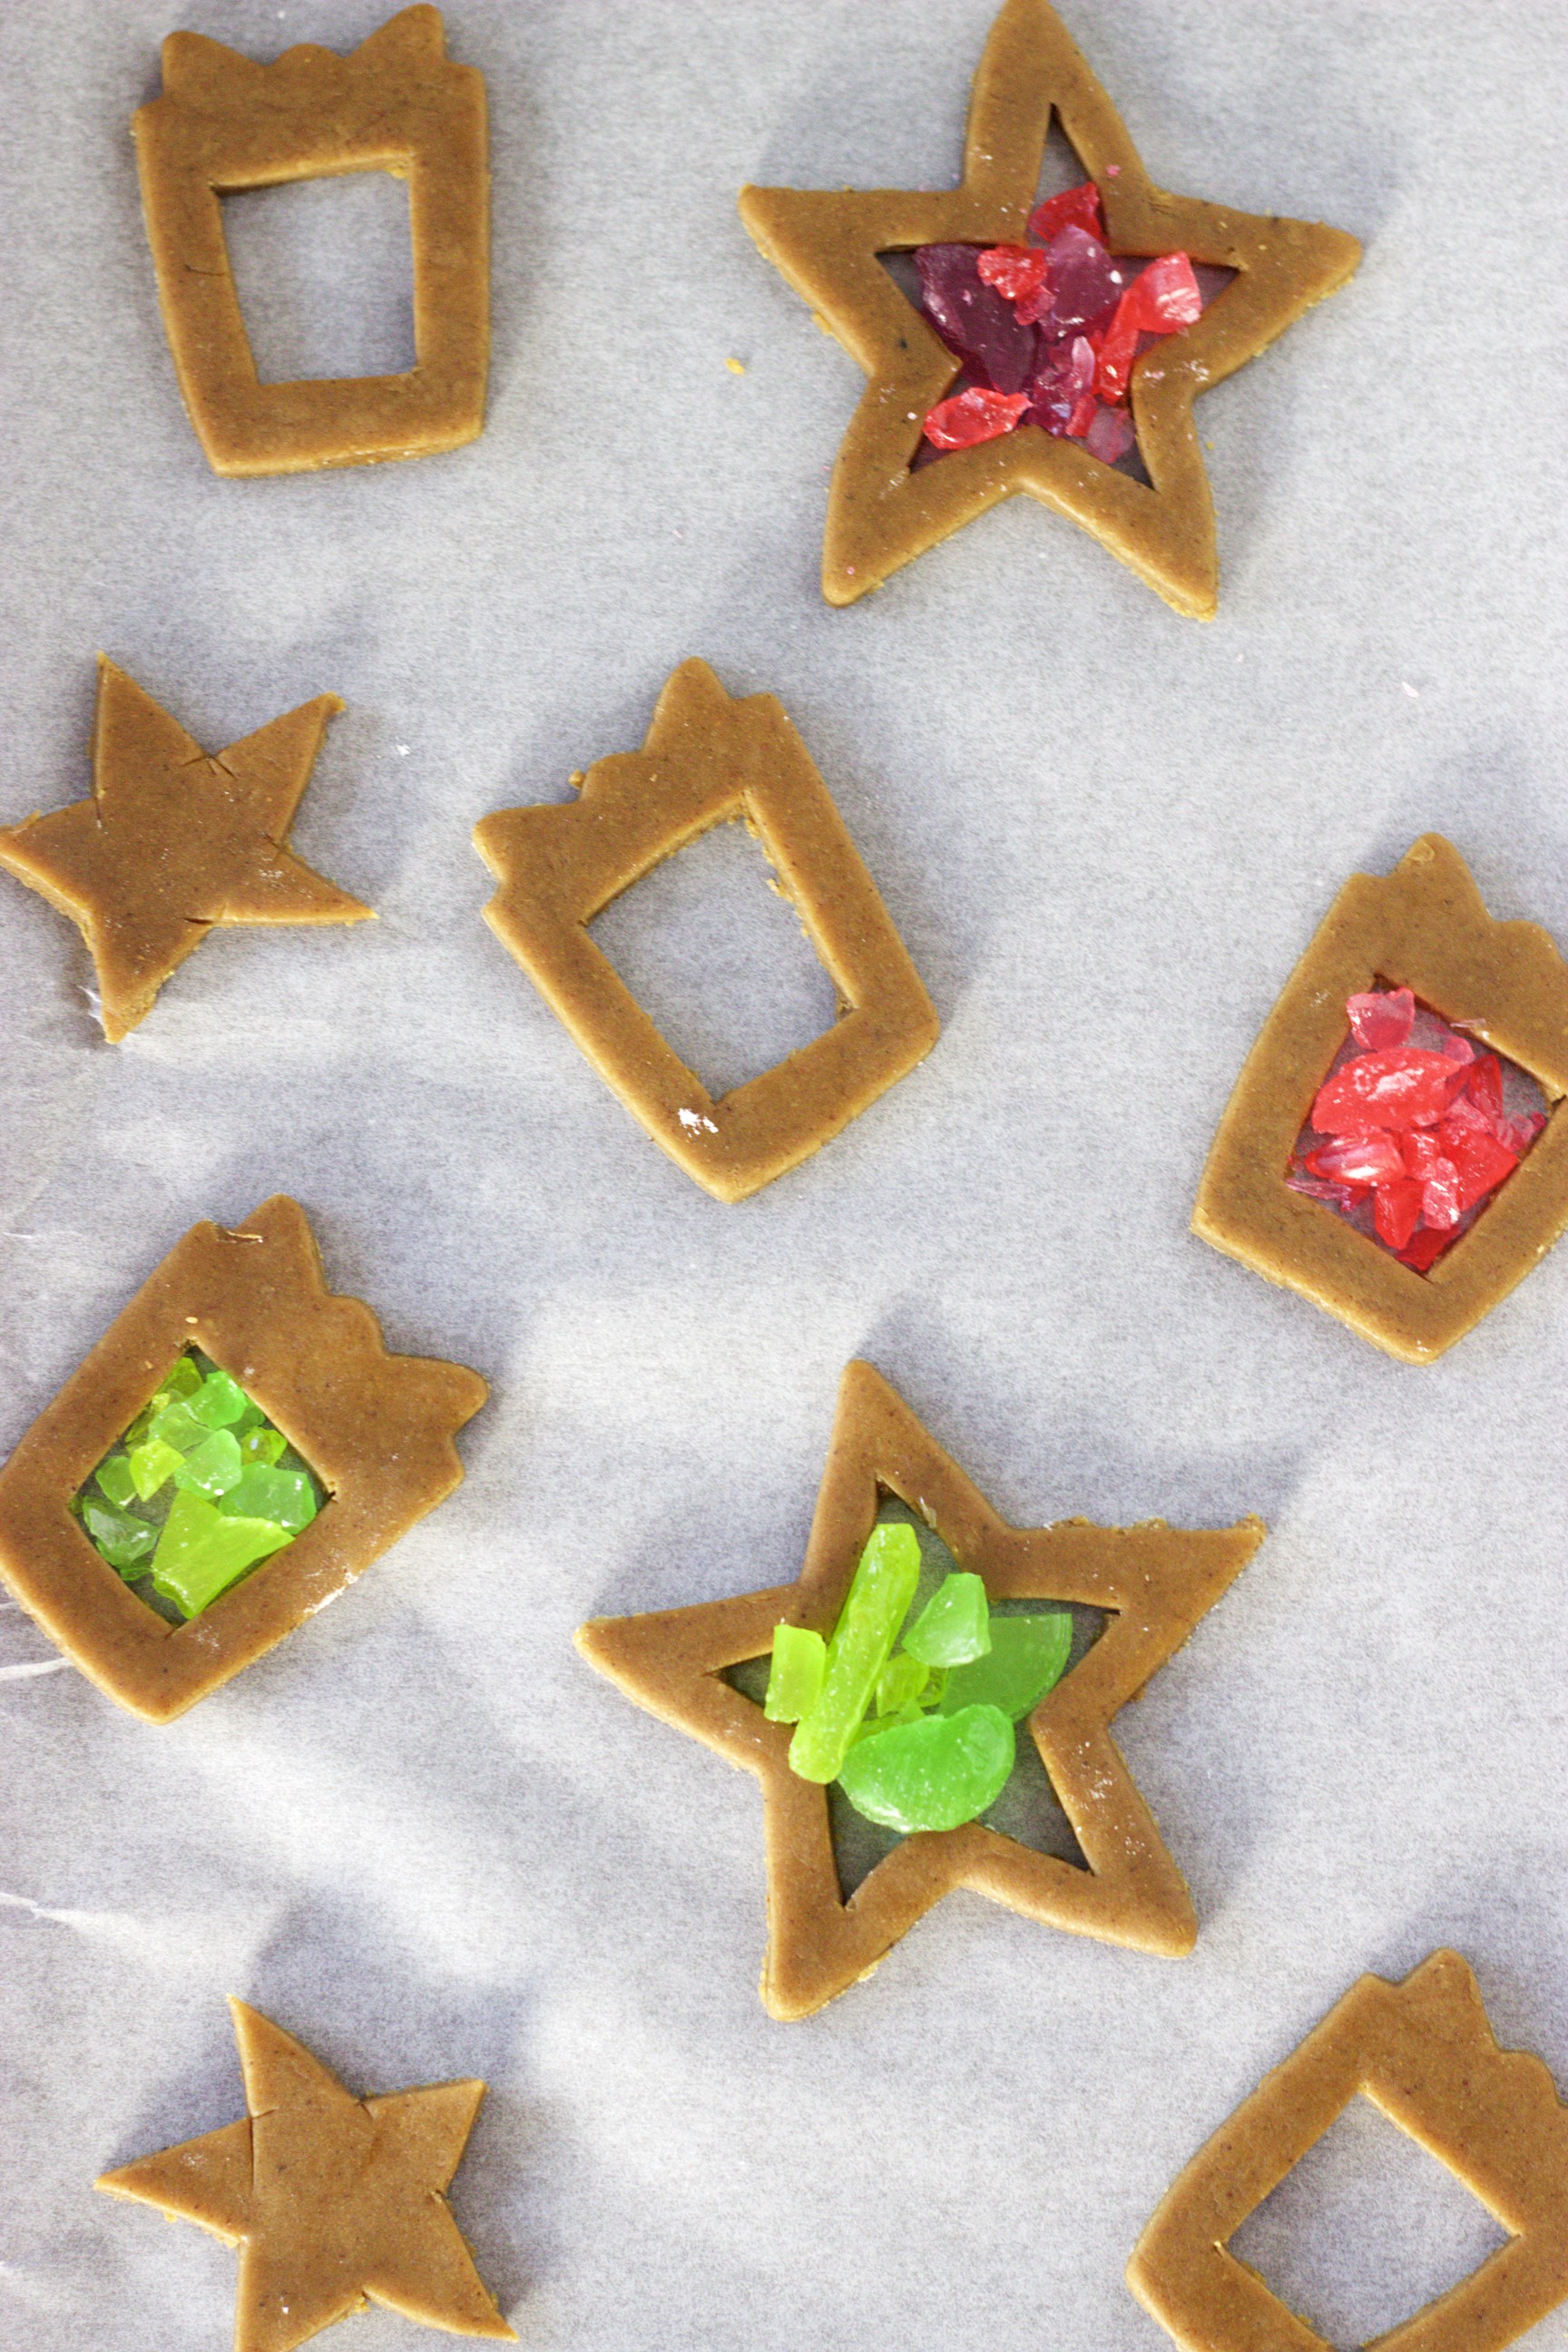
I love the rustic look of the plain brown cookies against the green tree, which is how we normally leave them. But, this year we created some stained glass ones as well, which are perfect for the tree because the twinkling lights shine through and make them glow – magical. They are also a great way to use up any hard candy that you have laying around from halloween. Win-win!
This gingerbread dough is lightly spiced, is quick and easy to make, rolls out like a dream, and holds it’s shape well. If you’re looking for a great, versatile, gingerbread recipe this is your ticket.
If you’re interesting in seeing how we turned this dough into Gingerbread houses last year, head here.
Classic Gingerbread Cookies
Make: 3-4 dozen
Ingredients
- 1/2 cup sugar
- 1/2 cup molasses
- 1.5 teaspoons ground ginger
- 1 teaspoon ground allspice
- 1 teaspoon ground cinnamon
- 1 teaspoon ground cloves
- 2 teaspoons baking soda
- 1/2 cup unsalted butter
- 1/4 teaspoon salt
- 1 egg, lightly beaten
- 3.5 cups all-purpose flour
Instructions
-
-
- Stir together sugar, molasses, and spices in a medium-sized saucepan. Bring to a boil, stirring occasionally. Remove from heat and stir in baking soda (it will foam up). Stir in butter, until melted and smooth. Beat in egg, just until combined. Stir in flour as much as possible and then tip over onto a clean work surface and knead with hands until smooth. Divide dough in half. Wrap one dough ball in plastic wrap while you work with the other.
- Roll dough slightly thinner than 1/4 inch. Cut into desired shapes. If you will be hanging them on the tree, use a straw to poke a hole in the desired place, before baking – this will be for the string to hang on the tree so make sure it is in a place that the ornament will hang nicely.
- Place on a parchment lined baking sheet. Bake at 325ºF for 10-12 minutes, or until just starting to brown on the edges. Let cool 2 minutes before removing to wire racks to cool completely.
- Roll out remaining dough (re-rolling any scraps) until all of dough is used.
-
To Make Stained Glass Cookies
-
-
- Crush up hard candy (such as suckers or jolly ranchers). Use a paring knife (or a smaller cookie cutter) to cut out desired shapes from the centre of the cookie. Fill these with crushed hard candy (taking care not to over-fill) and bake as normal.
-
Notes
If you forget to poke out holes with a straw before baking, you can also poke out the holes as soon as the cookies come out of the oven. This will only work while the cookies are still hot.
Adapted from Food.com. Originally from Good Housekeeping, Dec. 94.
Holiday Recipes Party!
Today I’m participating with three other lovely bloggers in a Holiday Recipe Party! Each of us is sharing a favourite holiday recipe and we want to see yours too! Make sure to come back tomorrow to join in on the fun. But first, make sure to check out these awesome recipes!
Snowball Cookies by Setting for Four
Festive Pomegranate Mojitos by Satori Design for Living
Gingerbread Cookie Decorations by Kitchen Simplicity
Baked Goat Cheese & Bacon Spinach Dip by A Pretty Life in the Suburbs


Cheri | Kitchen Simplicity
It's so fun to see what everyone comes up with. Your snowball cookies are absolutely adorable. 🙂
Shauna Oberg
So great to switch things up just a bit every year to make new memories. I remember doing crafts and baking with my son when he was younger. Now he's grown up, but he's starting to take an interest in cooking and baking, which is great. Perhaps we'll make gingerbread cookies when he's home on break from college very soon!
Cheri | Kitchen Simplicity
How fun that he will be back for the holidays! I'm sure all those memories are very special to him. 🙂
Cheri | Kitchen Simplicity
It would be a lot of fun. I look forward to the day that we can make that happen! 🙂
Snowball Cookies - Setting for Four
[…] Gingerbread Cookie Decorations by Kitchen Simplicity […]