How to: Make a Cars Themed Birthday Cake
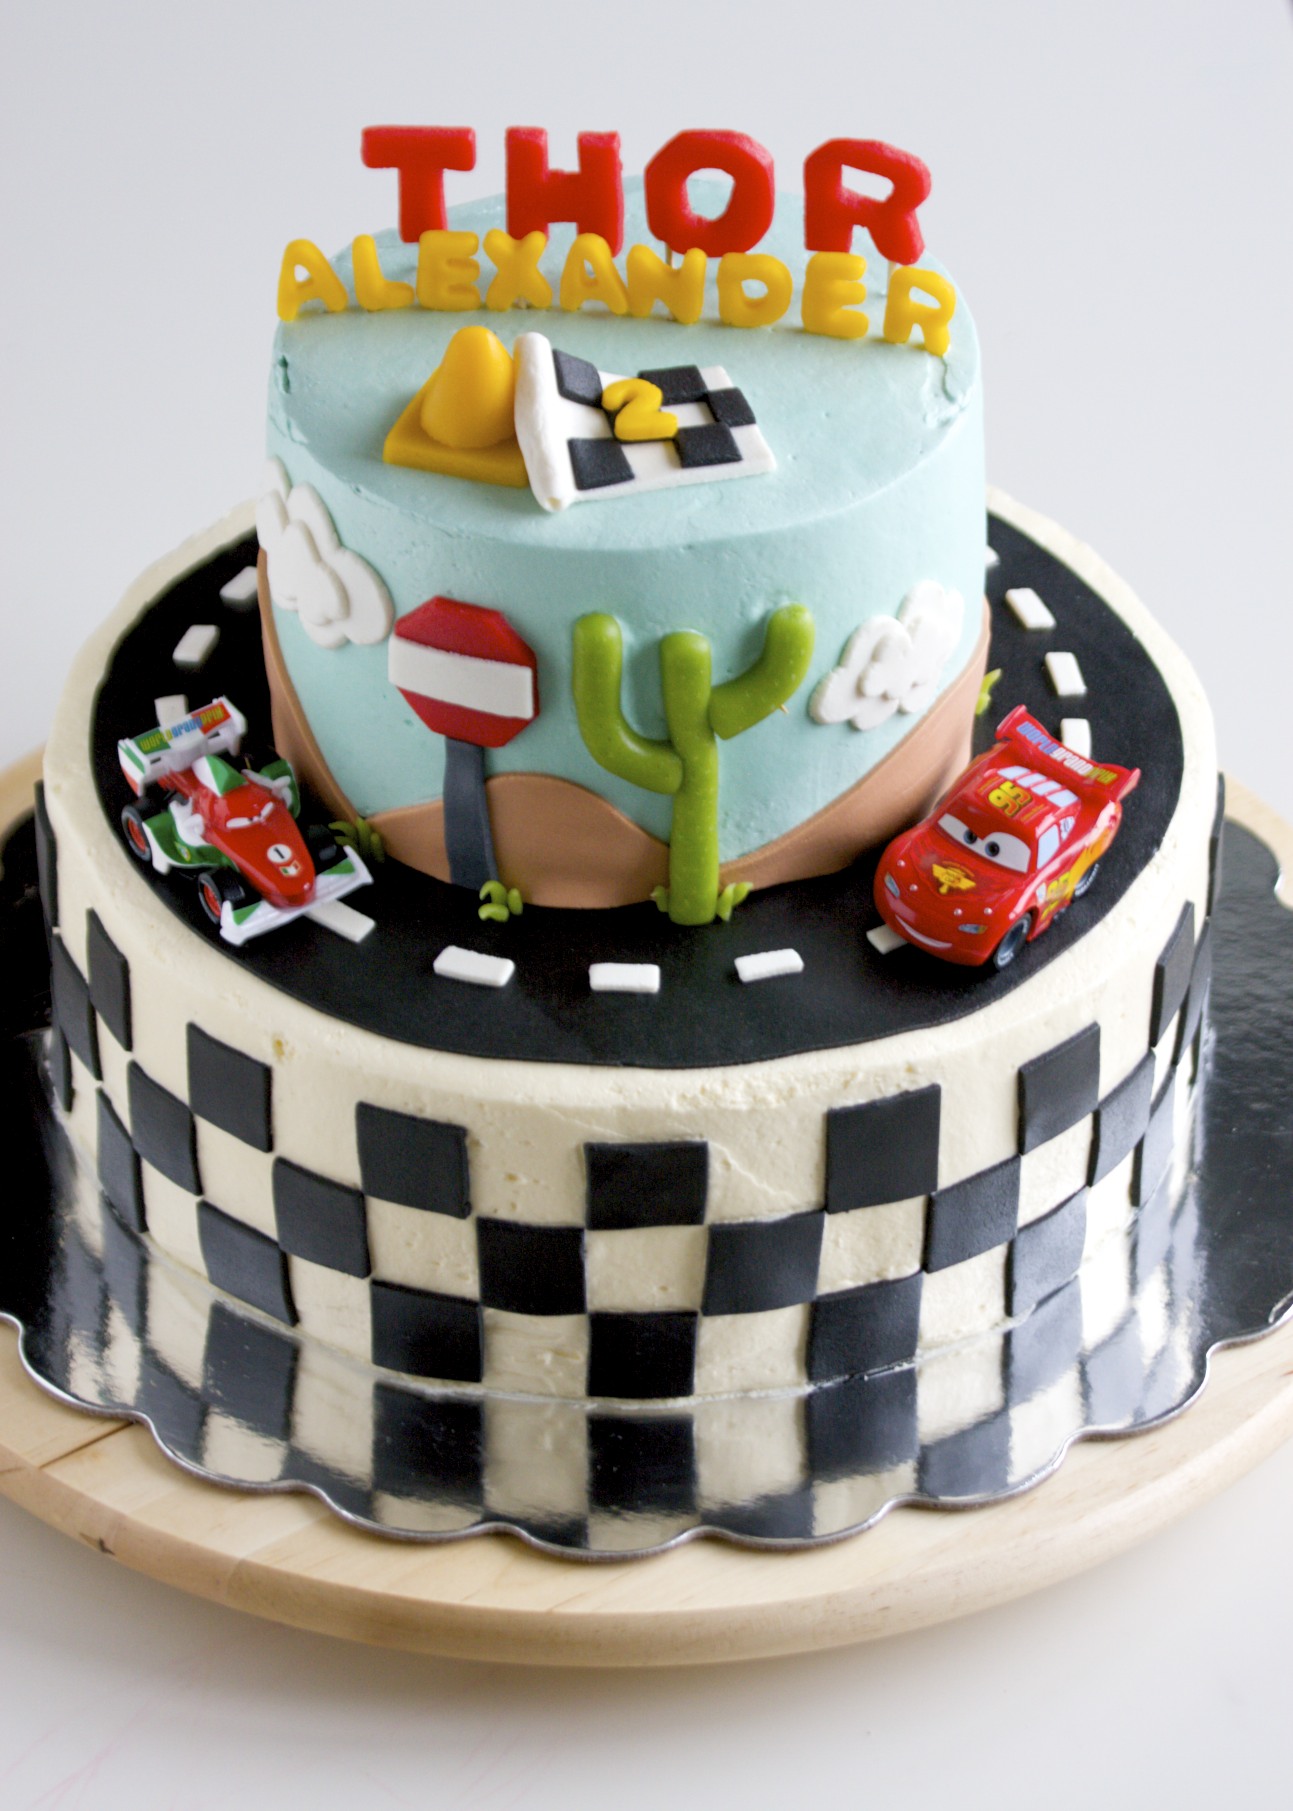
Last weekend I made a birthday cake for a little boy that was turning two who loves theCars Disney movie. What little boy doesn’t? Max was so excited to watch this cake take shape and I think a tad bit disappointed to see it go. 🙂 I had so much fun making this cake I thought I’d share some tips on how I made it, in case you’re interested in creating something like this yourself.
First things first.
Tips on Making a Stacked Cake
To make this cake you’ll need to make a two-tiered, stacked cake. Here are some general tips on stacking cakes.
-
Start with a Sturdy Cake Base.
If you’re making a stacked cake you want the cake to be fluffy (so it’s not too heavy) but also sturdy (so it can hold up to the pressure) and of course delicious (so it can be eaten :)). You’ll also want it to bake up nice and tall because it makes for a more impressive cake and will trim more easily without falling apart. I would be happy to share the Chocolate Cake recipe I use for stacked cakes, if there’s interest. (Update: Here’s the recipe.)
-
Trim it Flat.
You want to make sure that your cakes are level for proper stacking and icing. You can either trim them flat with a sharp serrated knife or use a cake leveler.
-
Ice it as Smooth as Possible.
I used a Whipped Vanilla Buttercream (again, I’d be happy to share the recipe if anyone’s interested. Update: Here it is!) that is smooth, light, not overly sweet and can sit at room temperature for long periods of time. I used these methods to crumb coat and smooth my buttercream.
-
Stack it Properly.
Since the top tier is so small with this cake, you don’t need much in added support. I inserted straws into the 10 inch cake to help support the 6 inch, which was built on a cardboard base slightly smaller than it’s size. You can find more about properly stacking cakes here.
Now you can move on to the decorating.
How to Make a Cars Themed Cake
Note: I used marzipan to decorate this cake but you could also use fondant.
- For this cake you want the tiers to be at least 4 inches different in diameter. I used 2-10 inch cakes for the base and 2-6 inch cakes for the top tier. If you’re wanting to have a road encircling your cake you need at least a two-inch perimeter all around the cake.
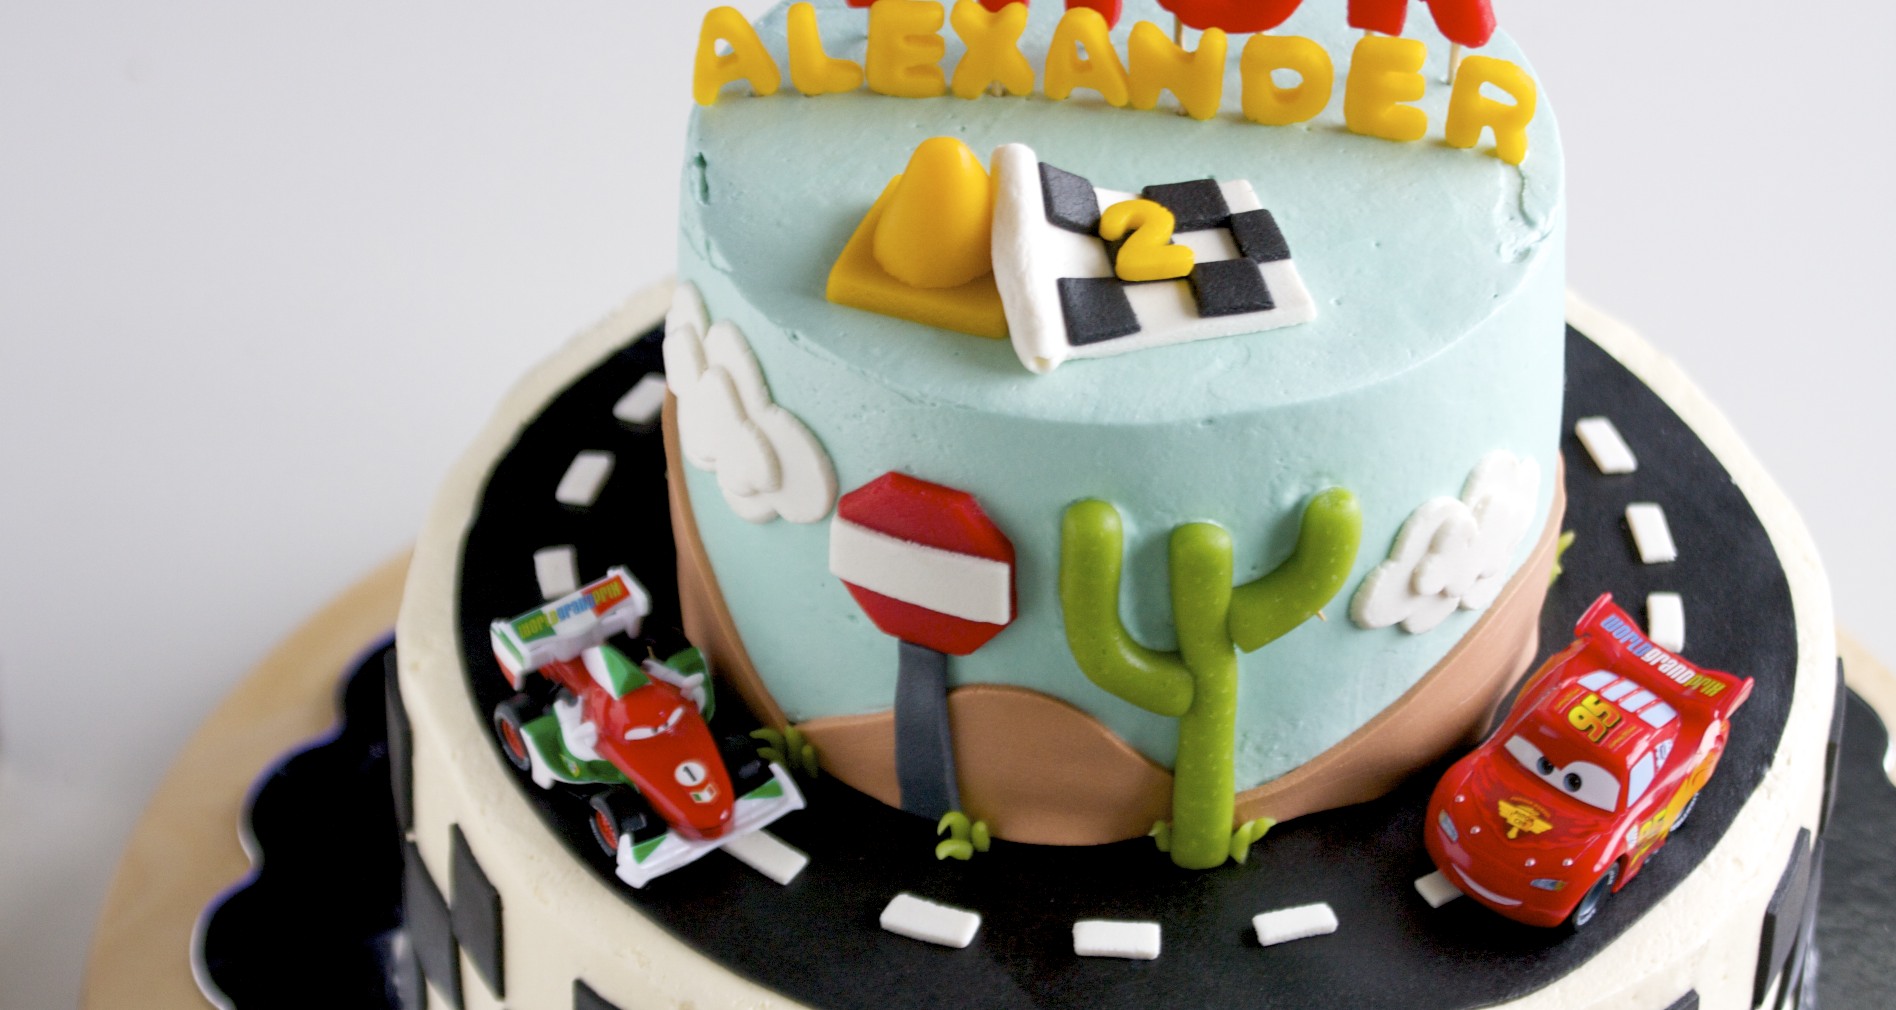
- For the road. Before stacking the tiers, I rolled out a large piece of black marzipan and used the bottom of my 10 inch cake pan as a guide to trim it to a 10 inch circle with a paring knife. With the help of my hubby, I carefully transferred it to the top of the cake, placing it in the centre as much as possible. Then, I put straws in for support and stacked the 6 inch on top. For the white centre lines, I rolled out some white marzipan and cut it into small rectangles, brushed the backs with a bit of water and lined them up along the centre of the “road”.
- To make the checkered bottom. I cut out 1 inch black squares and gently pressed them into the buttercream all around the cake. I started on the bottom with one black square, then placed a square in the row above by matching it with the corner of the bottom one, then continued up the cake before heading back down. This way there’s no measuring. If you match all the corners together each square with be 1 inch apart and create a checkered pattern.
- To make the landscape top tier. I iced the top tier in light blue buttercream to look like the sky. After stacking, I rolled out some brown marzipan, cut it straight on one edge and then used a paring knife to cut out a large swoop to make a hill. I carefully pressed that onto the buttercream and made additional hills, overlapping them slightly until I encircled the entire cake. For the clouds I rolled out white marzipan, cut it into large and small cloud shapes, with a paring knife. I brushed the small clouds with a bit of water and stuck them onto the larger clouds. I then pressed those gently into the buttercream. I created a cactus by rolling green marzipan into a log, trimming and molding it into shape, using water to help the pieces stick together. I then used a toothpick to mark the spines onto the cactus before placing it on the cake. The sign is pretty self-explanatory; cut out the shapes, stick them on the cake. I also made some blades of grass to add some extra dimension. I rolled small pieced of green marzipan between two fingers until a thin cone shape was formed. Then I cut of the tip, dipped it gently into a bit of water and placed it onto a cake using a paint brush (that I only use for cakes) to help me get it where I wanted it to go.
- For the cars. I used toy cars and secured toothpicks into the bottom and stuck them onto the cake. This way there was no fear of them rolling off during transportation.
- For the lettering. I used alphabet shaped cutters for the smaller letters and stuck toothpicks into the bottom of each to secure them onto the cake. For the larger letters, I cut them out by hand with a paring knife (to match the smaller letters) and used two toothpicks, per letter, to secure.
So that’s how I did it. Hopefully it makes sense and helps anyone that’s interested in making their own Cars themed birthday cake. 🙂
Inspired by this cake from CakeCentral.com.


