KS
Kitchen Simplicity
Recipes
Freelance
Tag
how-to
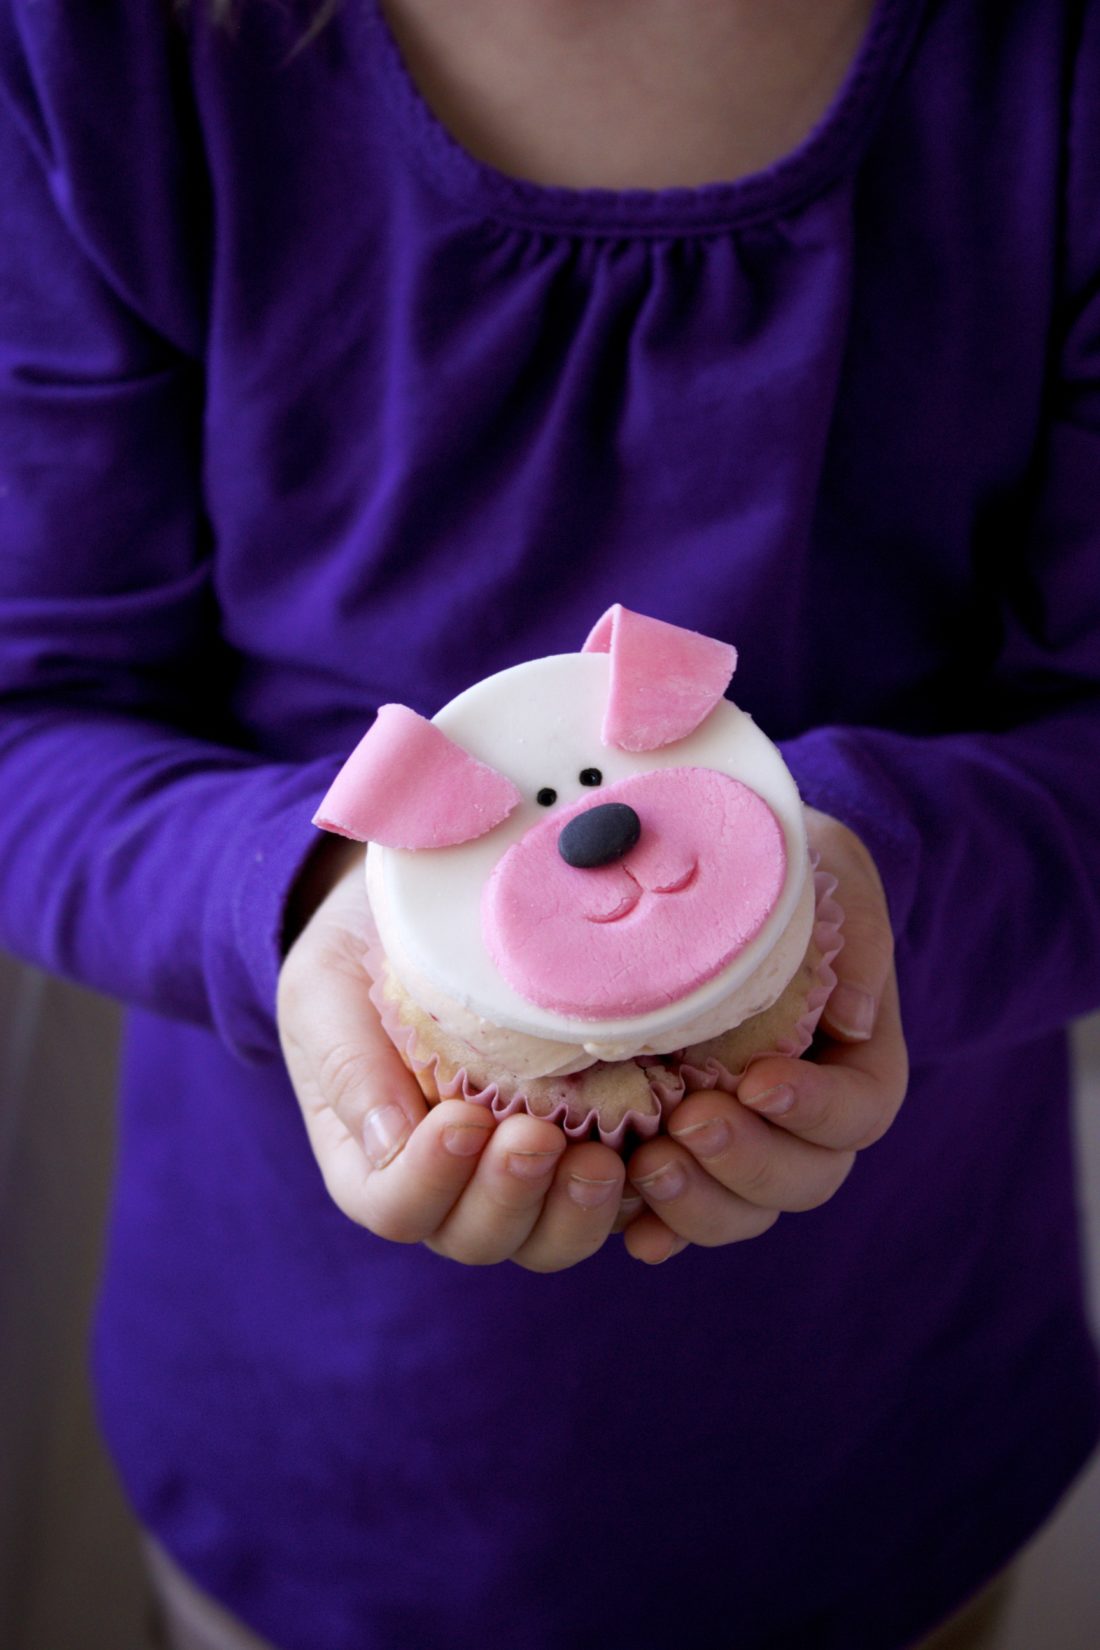
Easy Puppy Cupcakes (How-To)
read more