KS
Kitchen Simplicity
Recipes
Freelance
Category
Kids
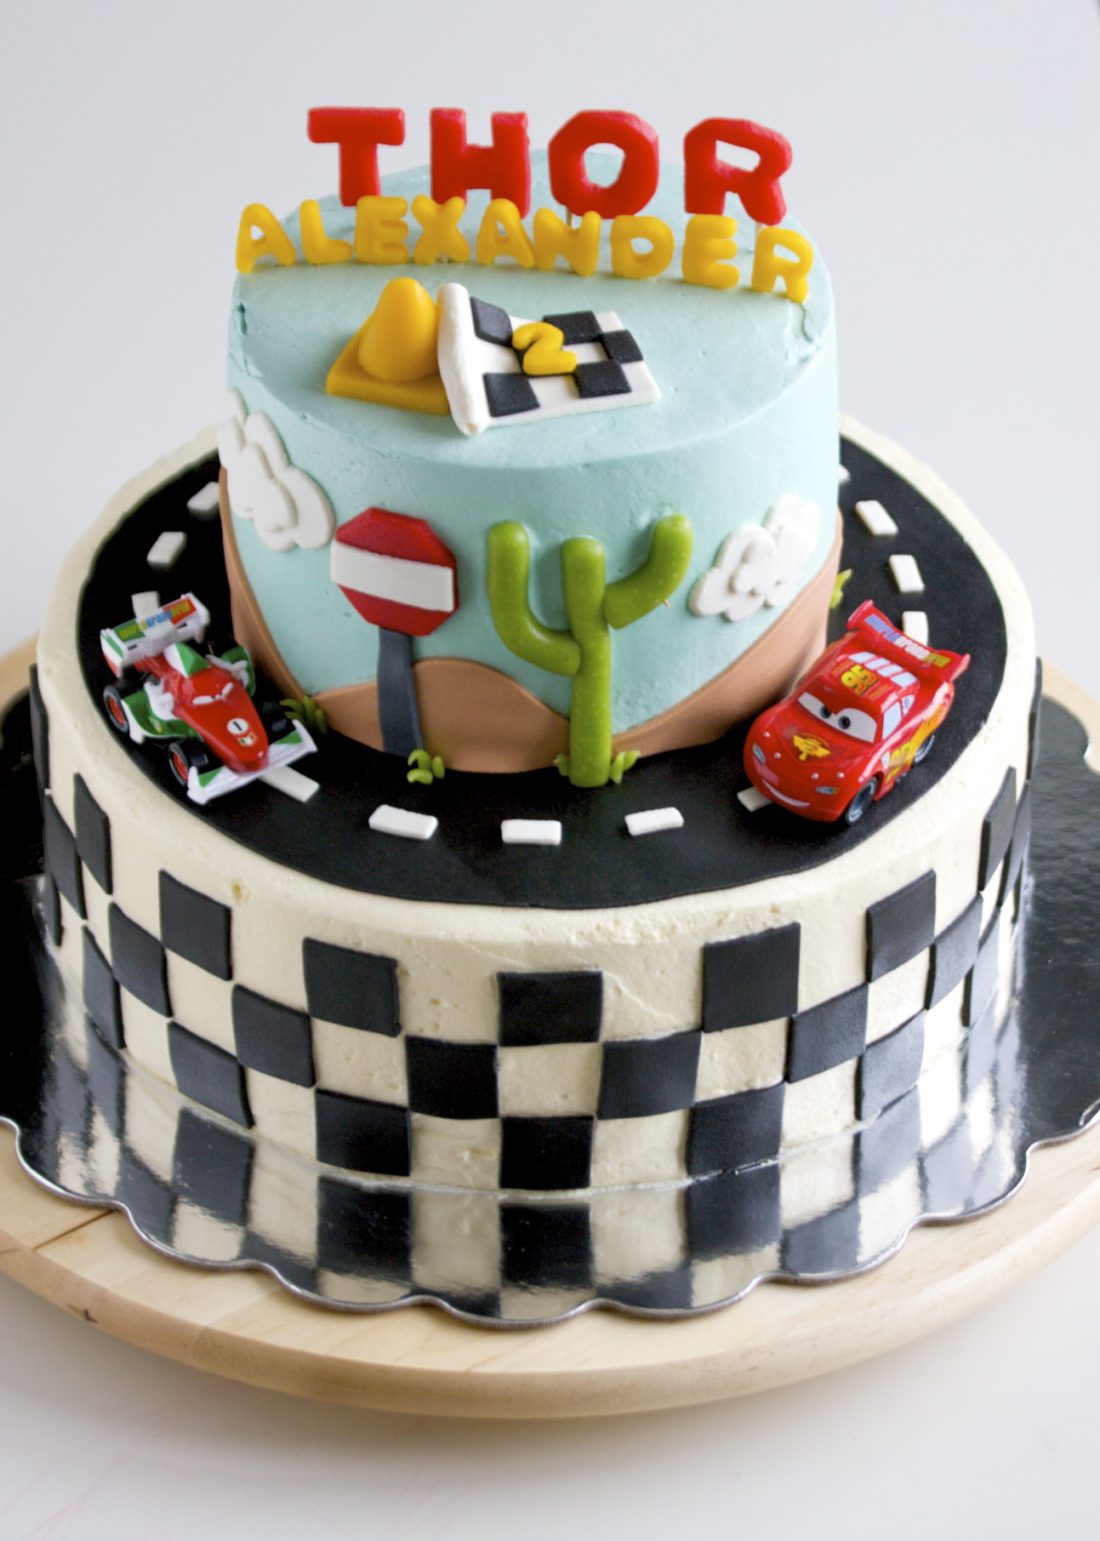
How to: Make a Cars Themed Birthday Cake
read more
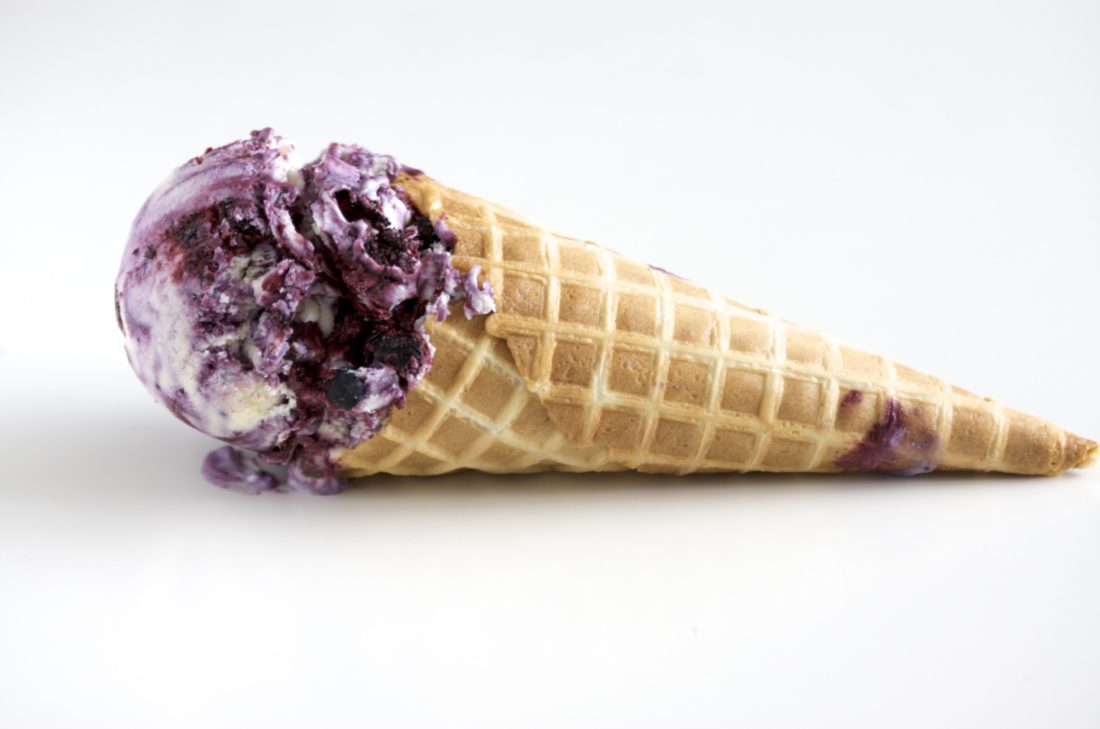
No-Churn Blueberry Cheesecake Ice Cream
read more
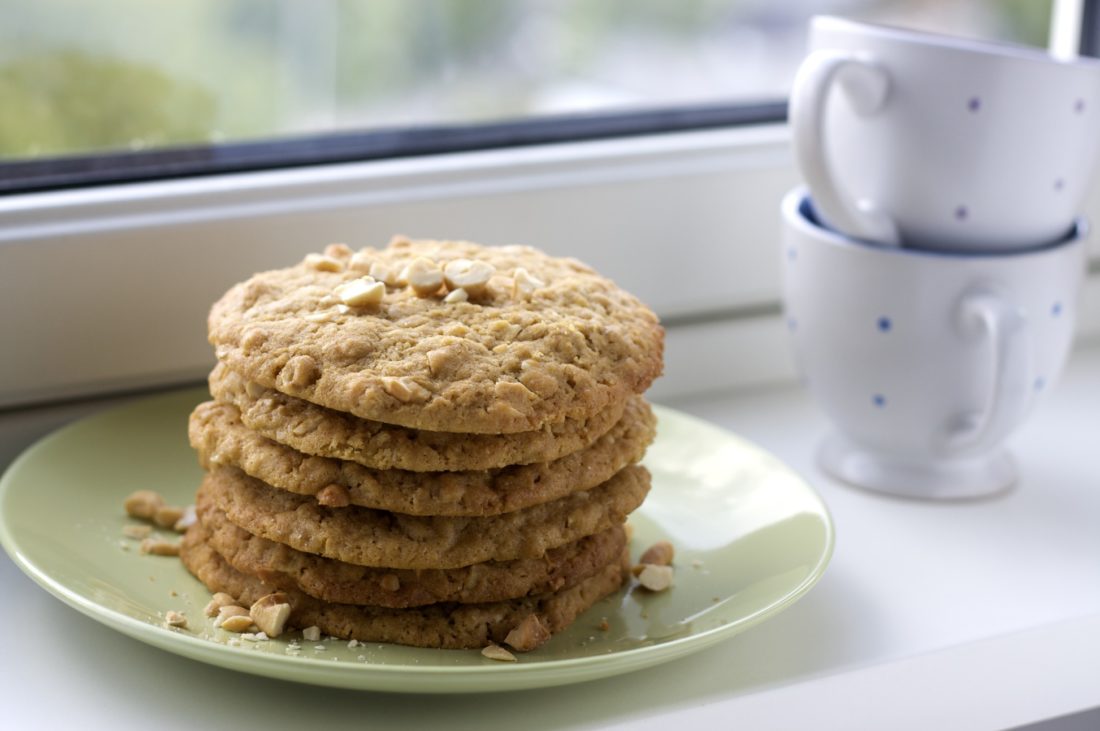
Kids in the Kitchen: Jumbo Cashew Cookies
read more
Kids in the Kitchen: Easy Lemon Sugar Cookies
read more
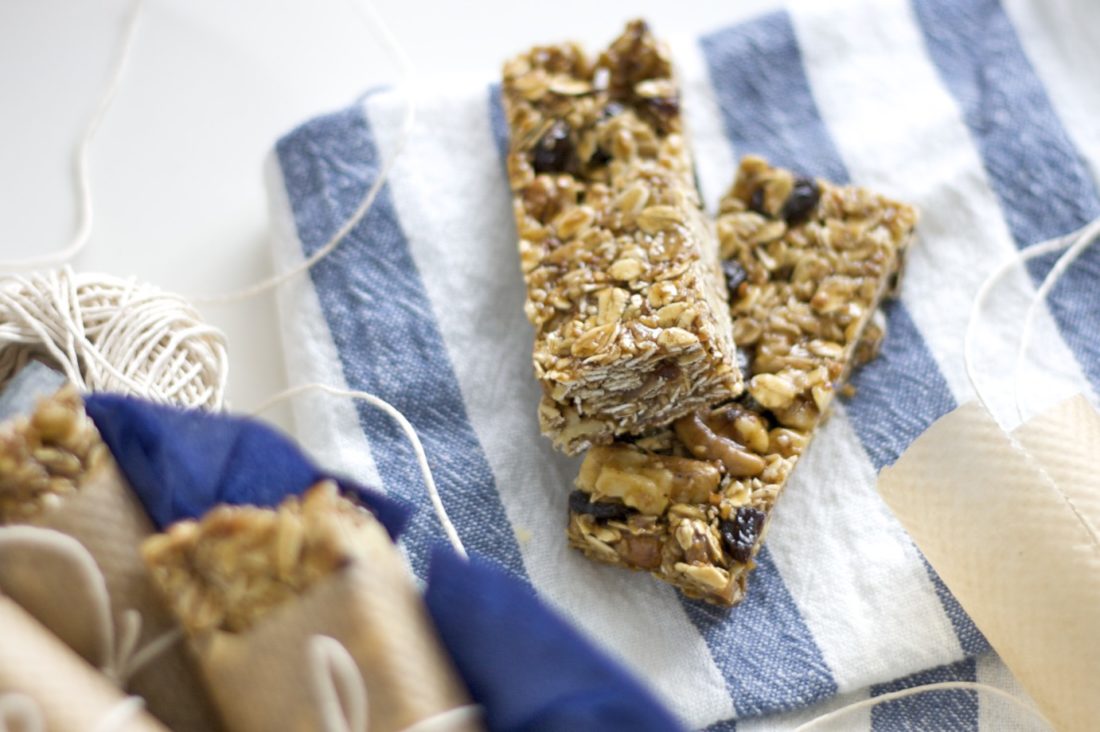
Kids in the Kitchen: No-Bake Granola Bars
read more
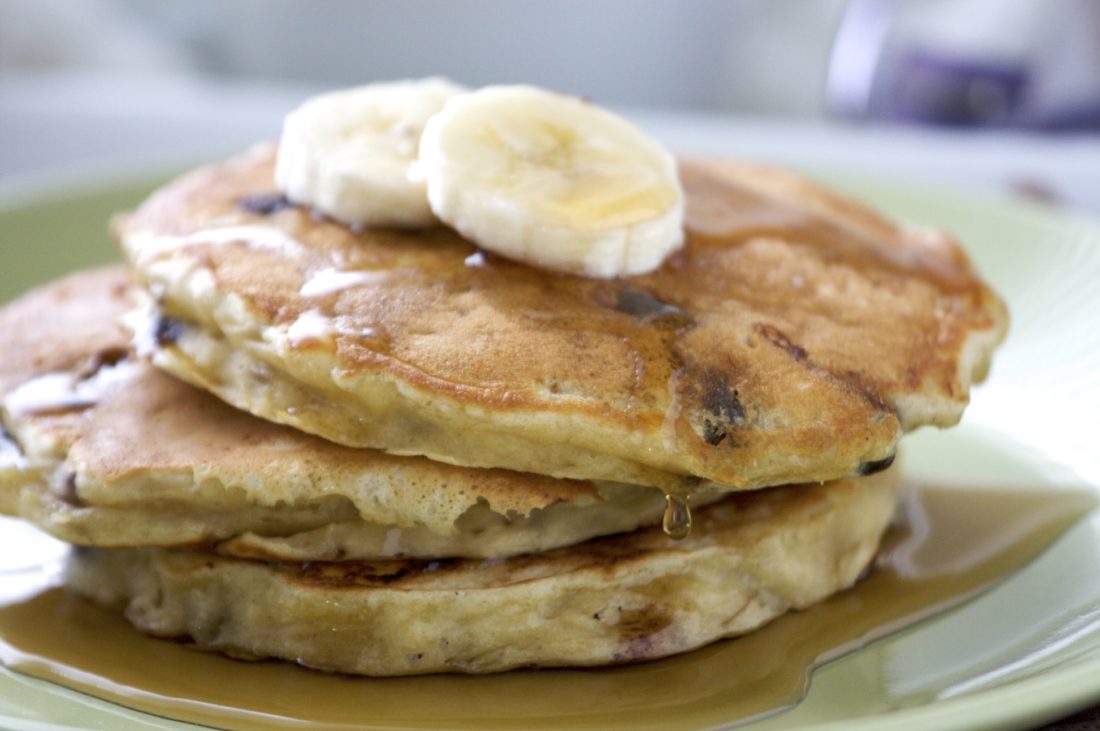
Banana Chocolate Chip Pancakes
read more
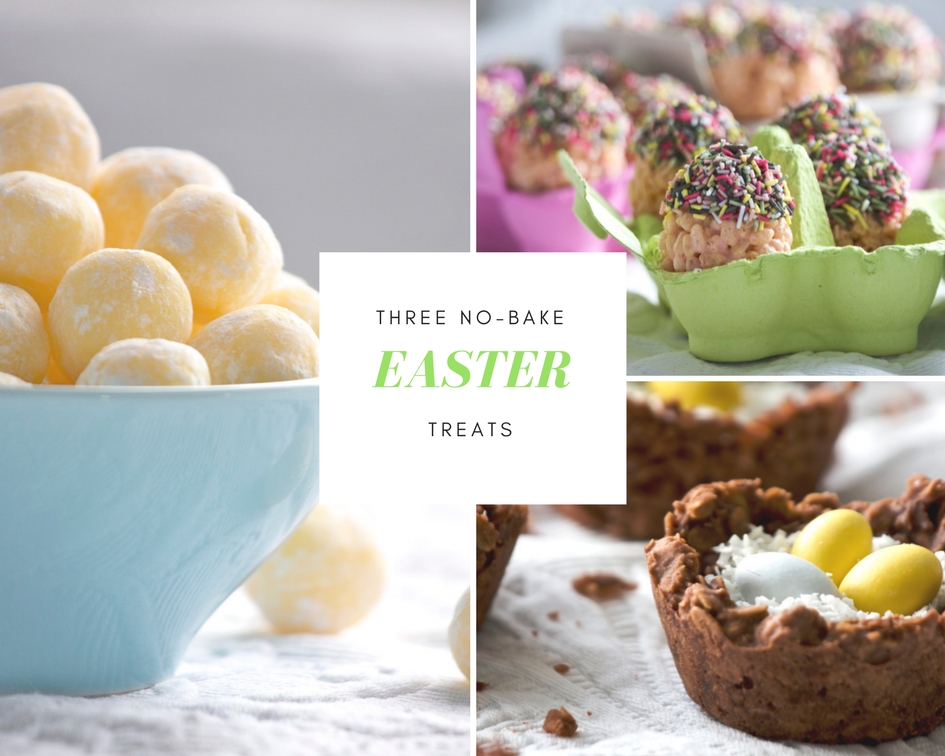
Three No-Bake Easter Treats
read more
Previous