KS
Kitchen Simplicity
Recipes
Freelance
Category
Kids
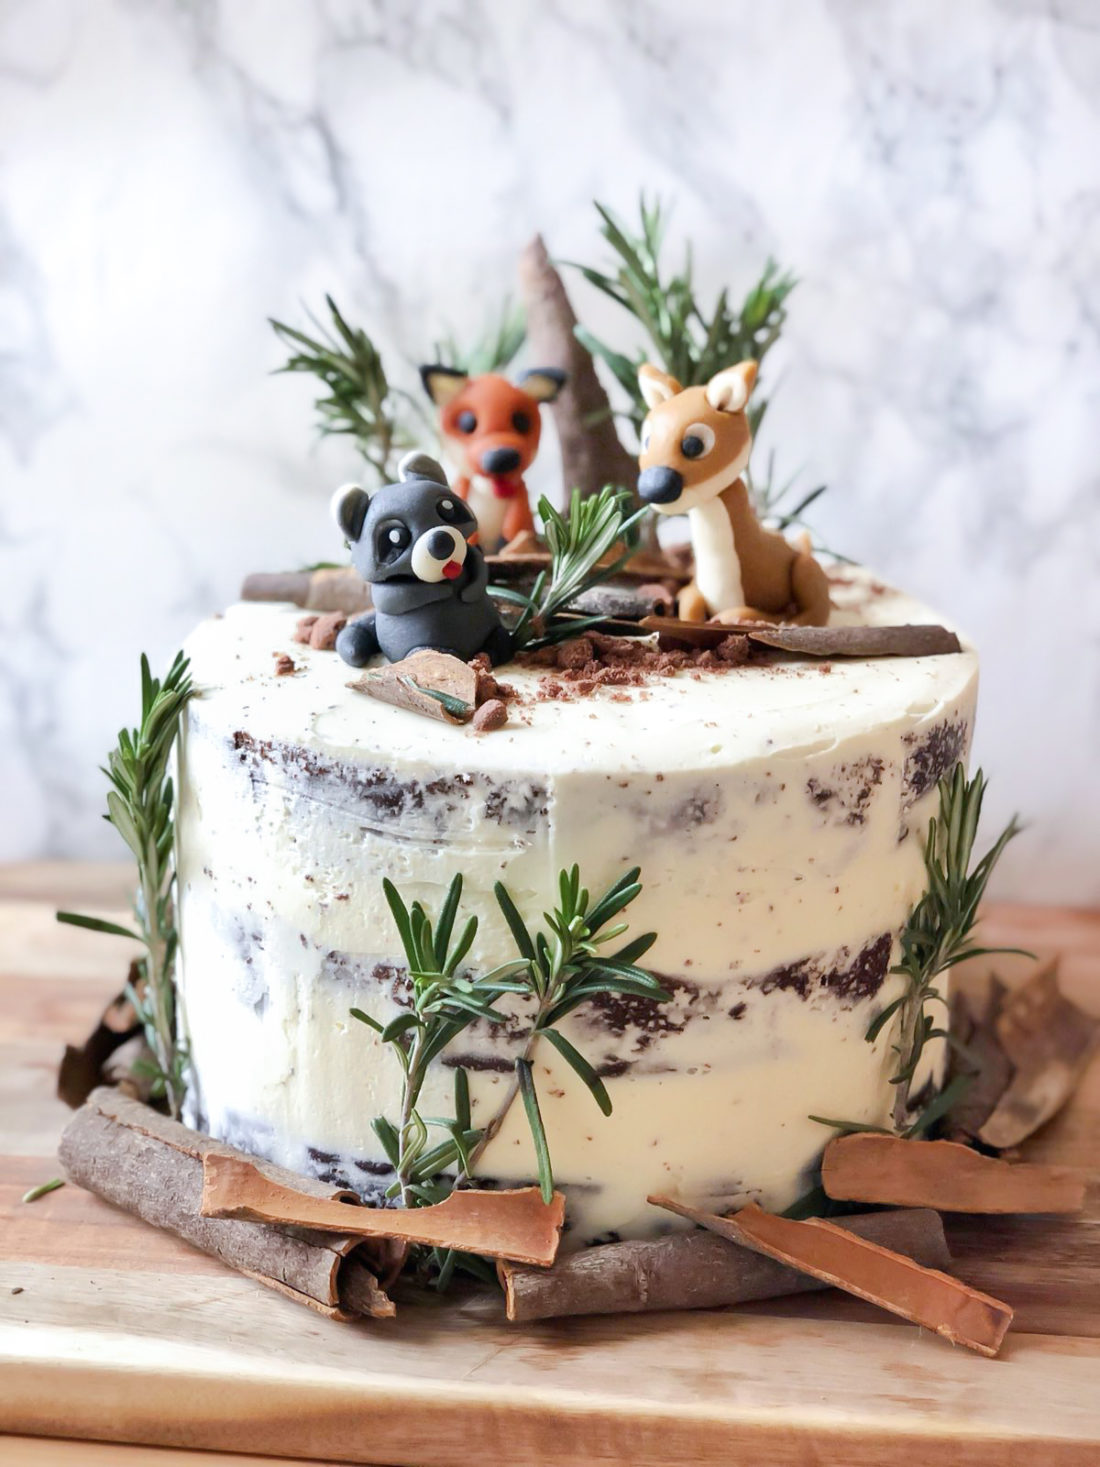
Woodland Animals Cake
read more
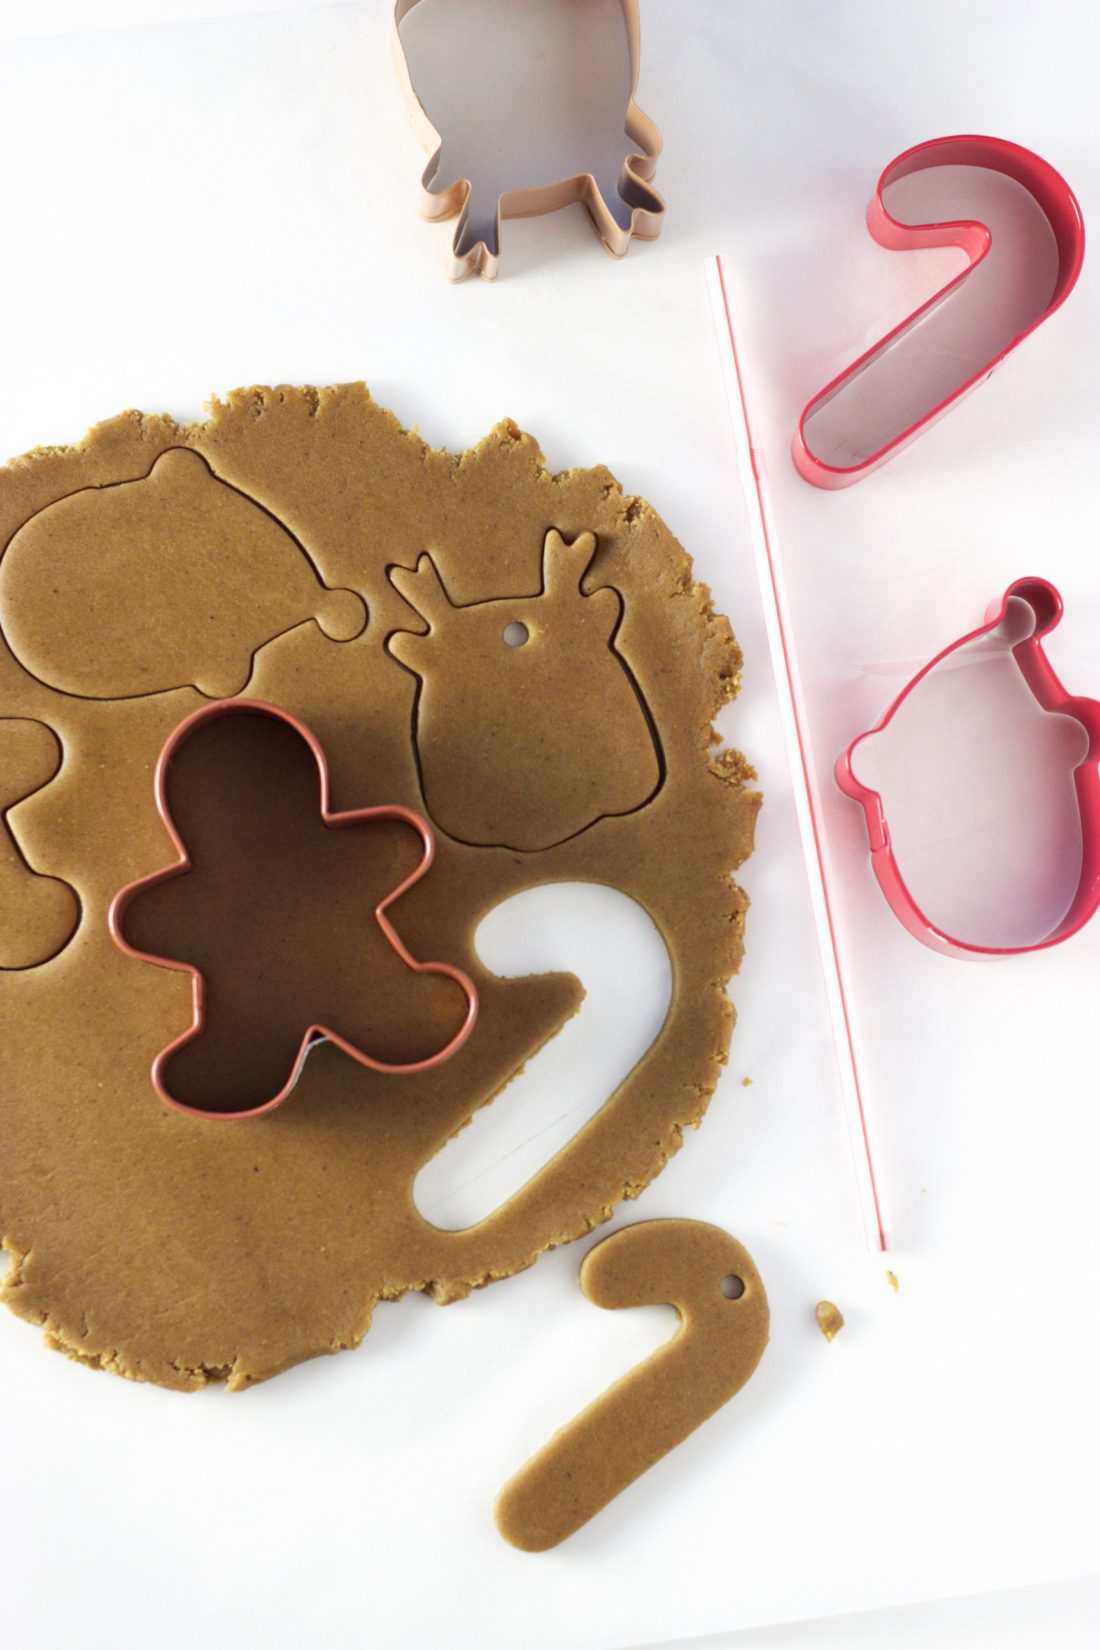
Classic Gingerbread Cookies (& how to use them to trim your tree)
read more
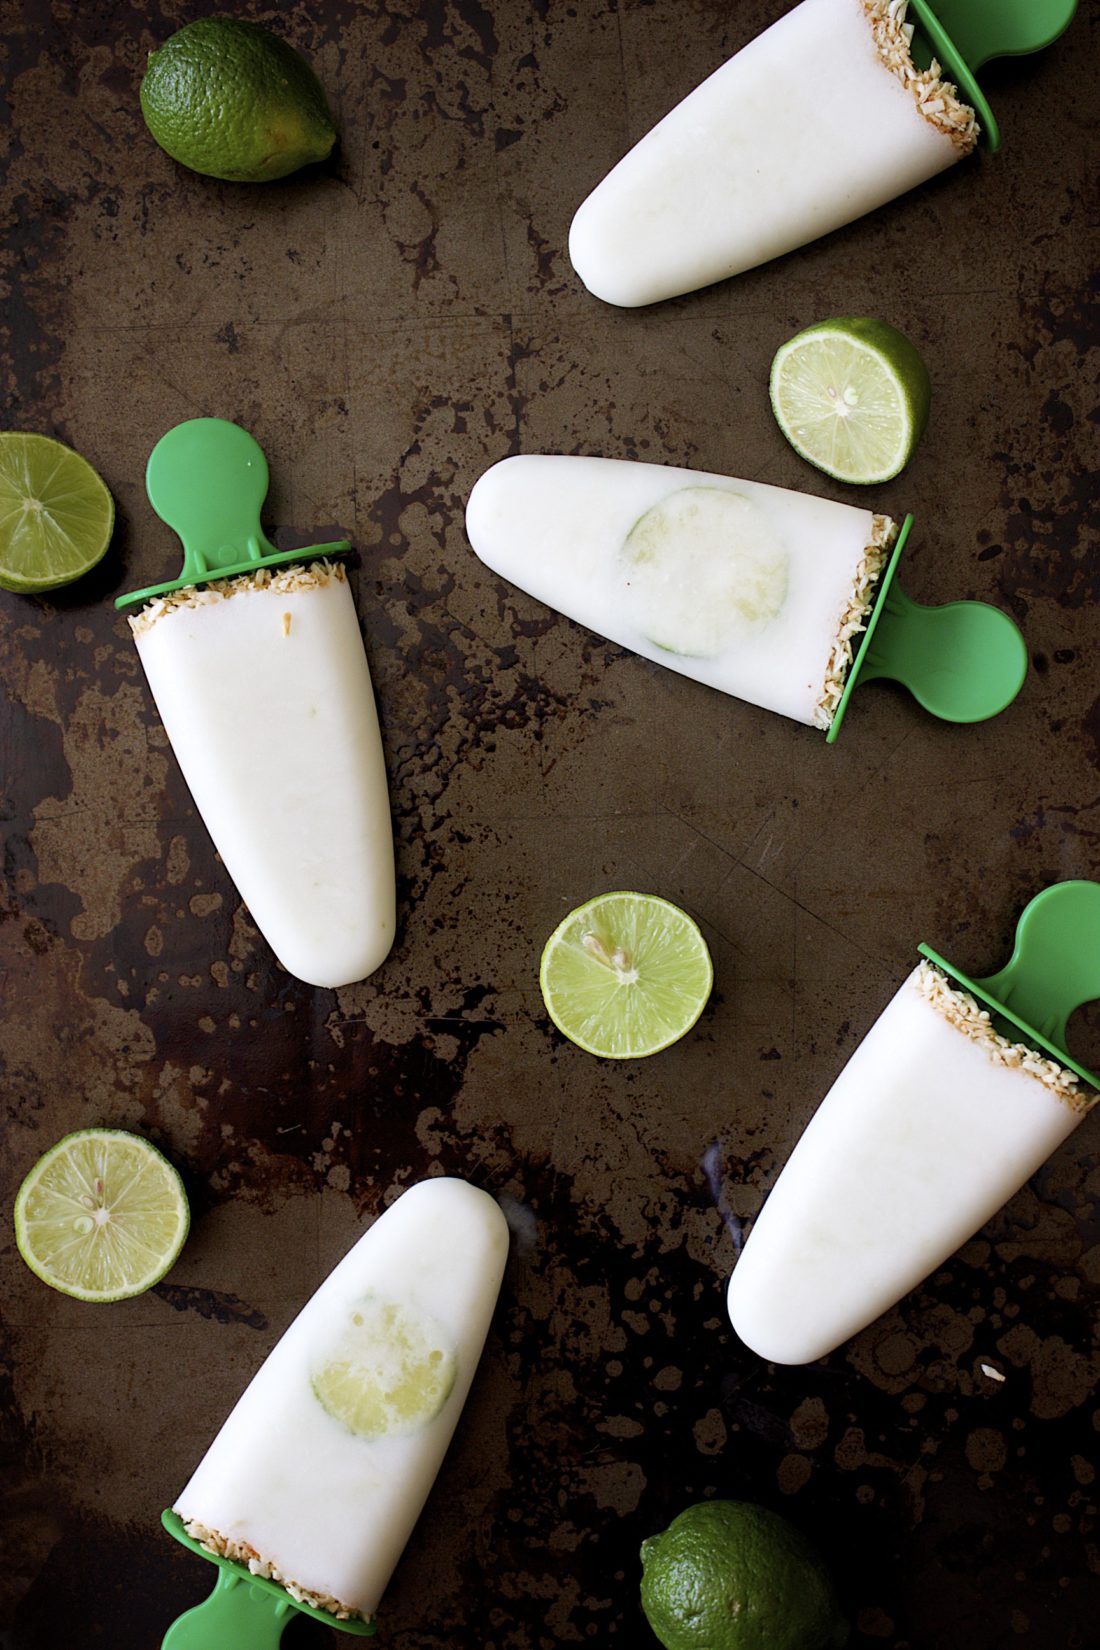
Coconut Key Lime Pie Popsicles
read more
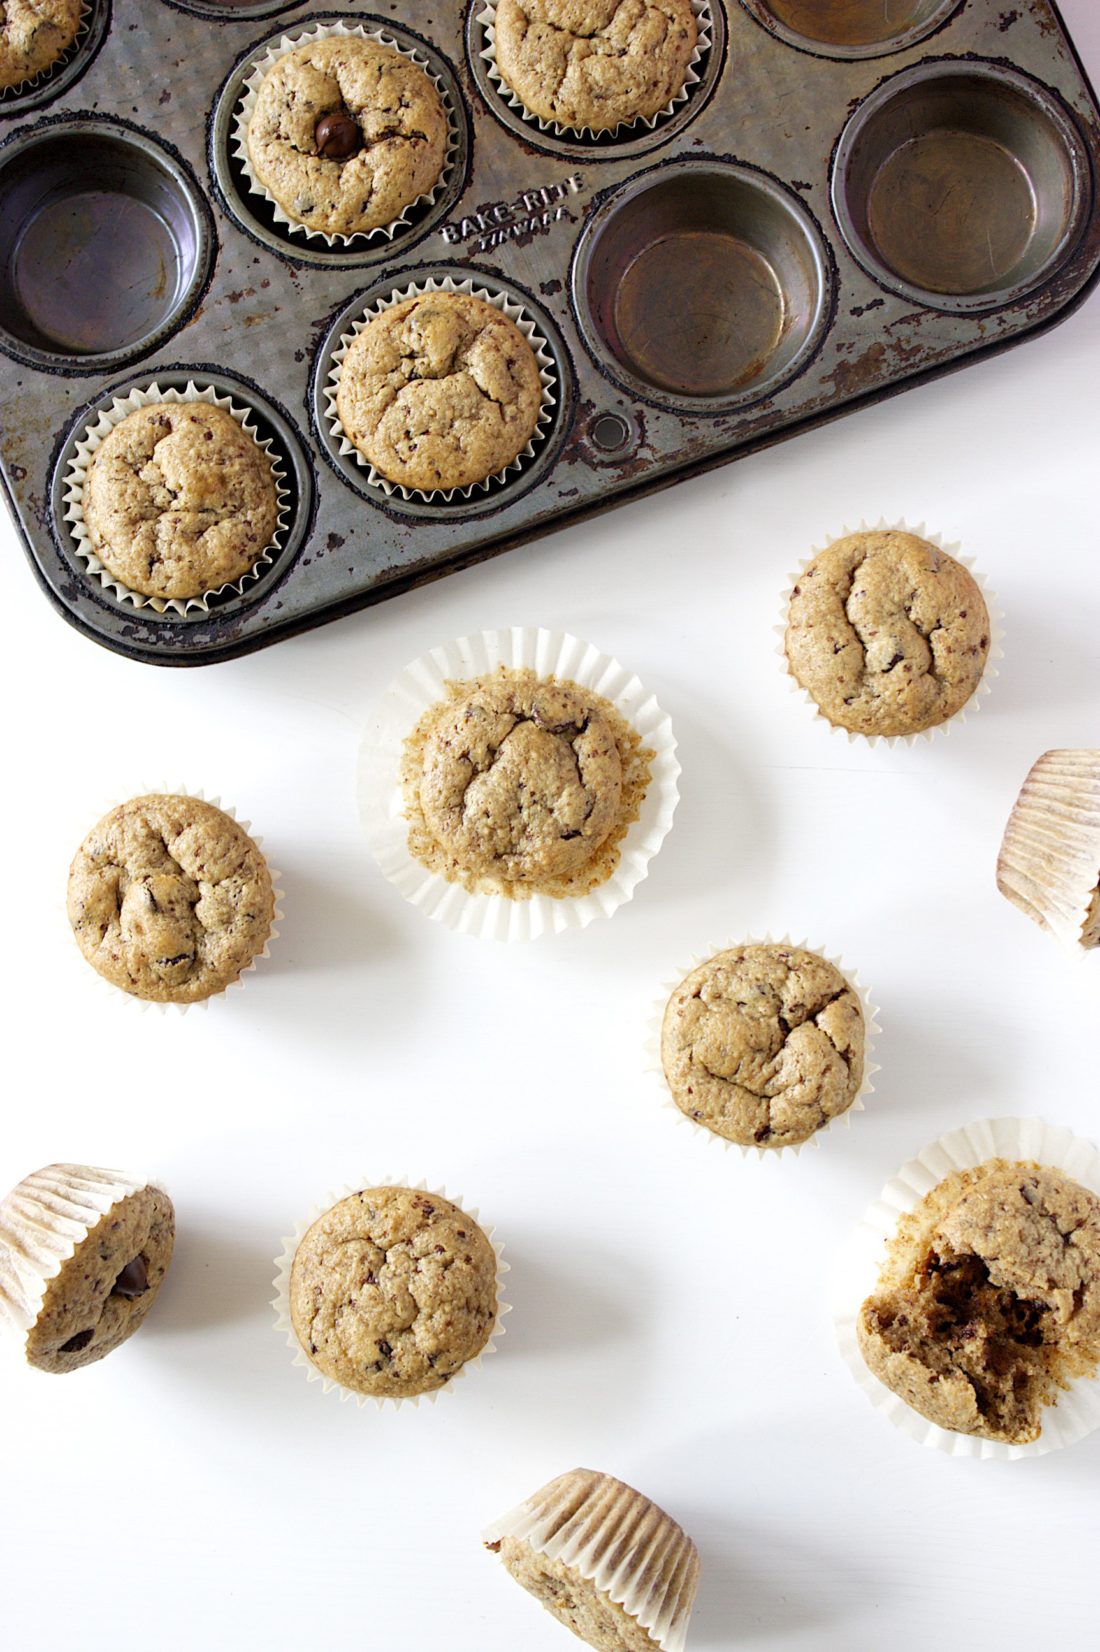
(Easy Gluten-Free) Flourless Peanut Butter Chocolate Chip Mini Muffins
read more
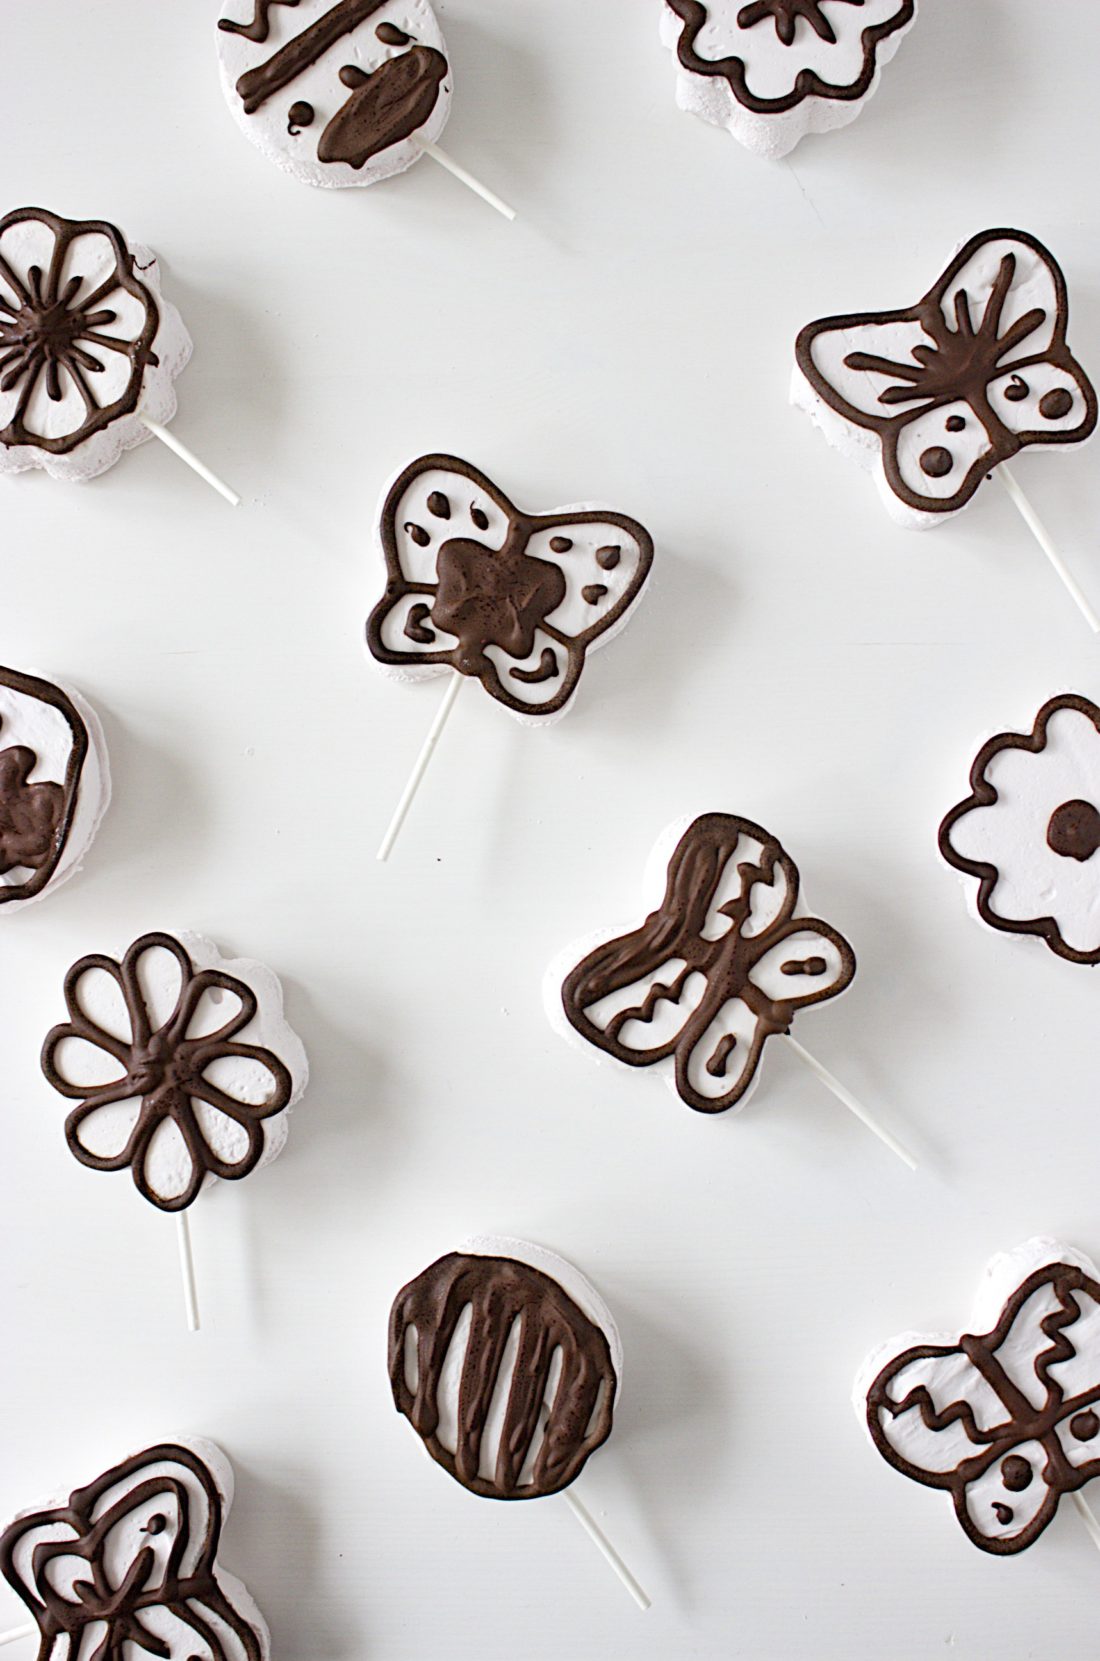
Chocolate Dipped Marshmallow Pops
read more
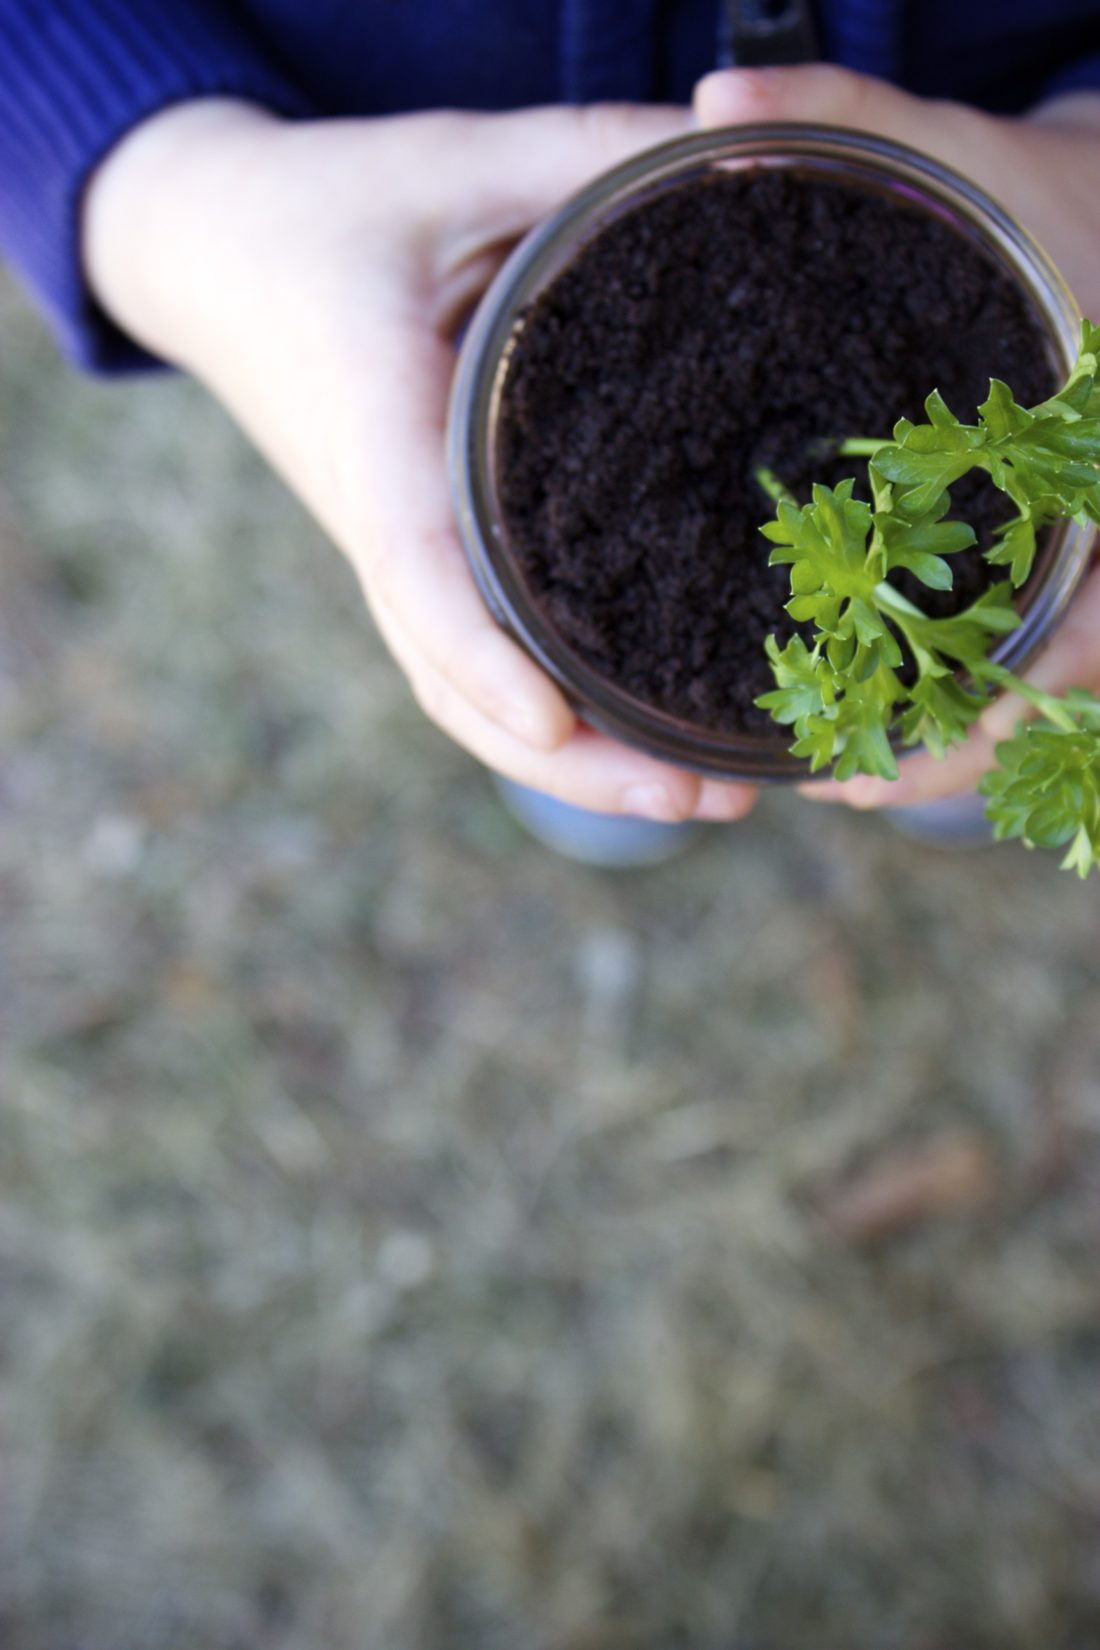
Carrot Top Pudding Pots
read more
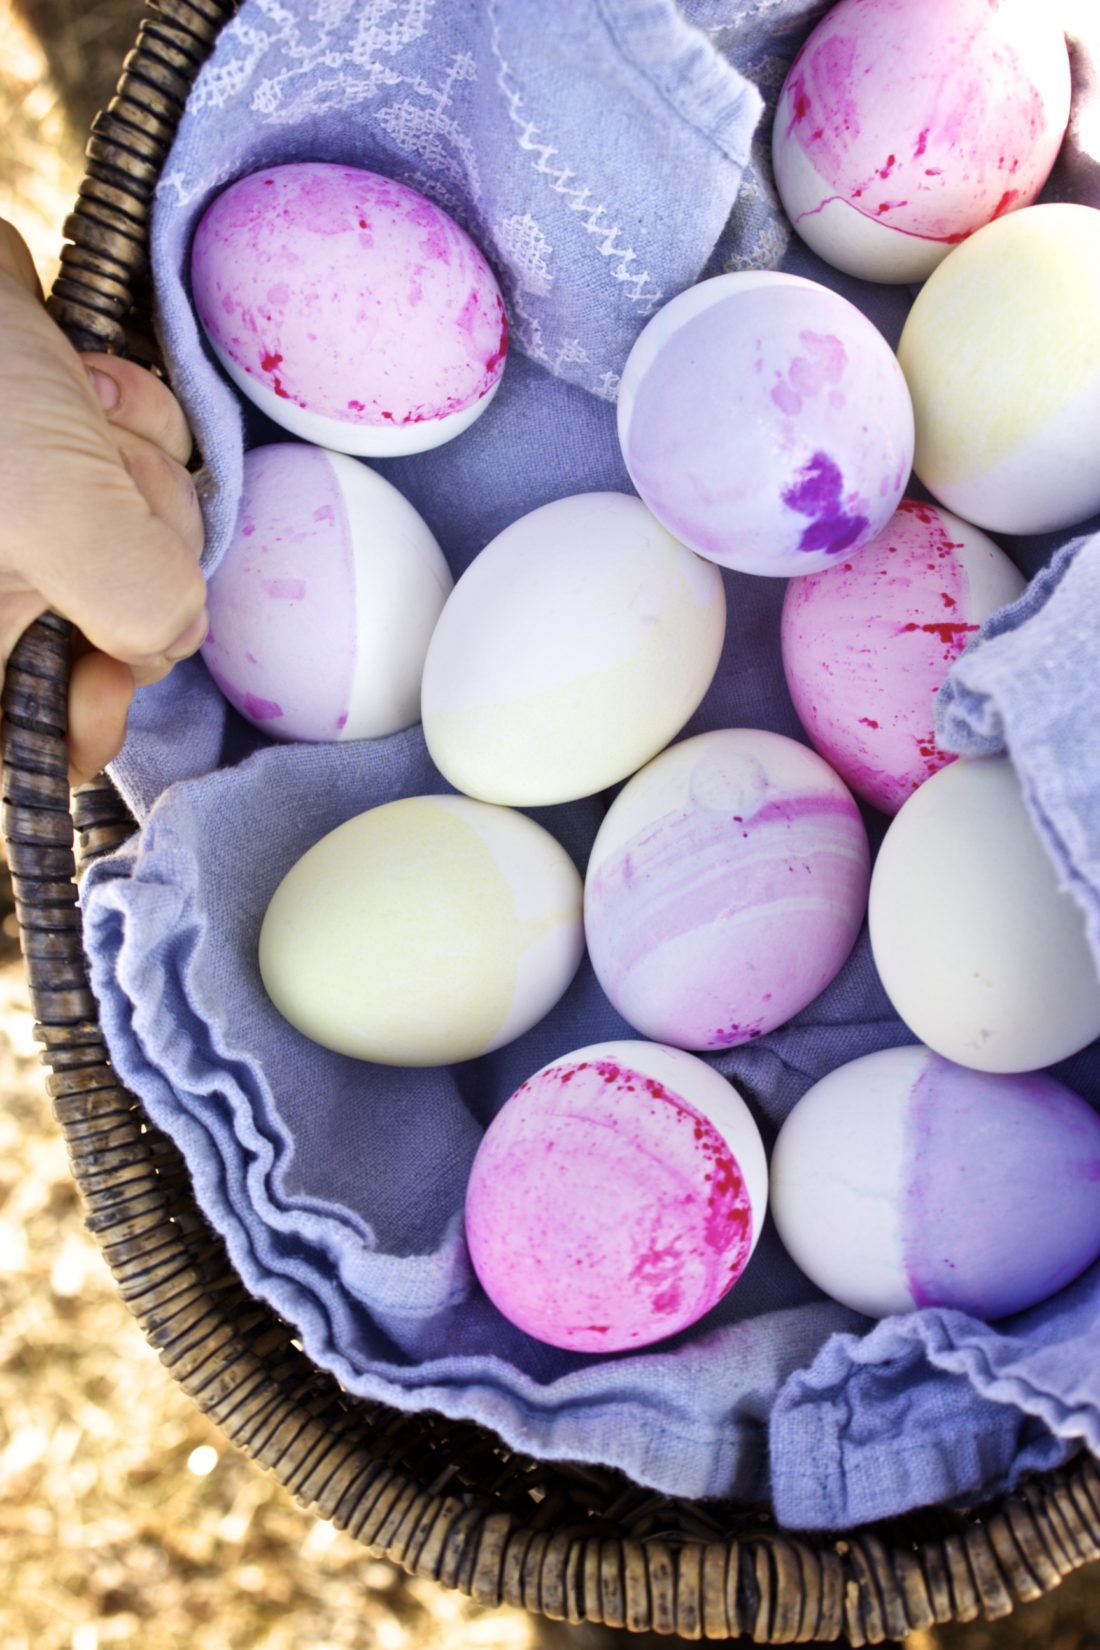
Surprise-Inside Easter Eggs
read more
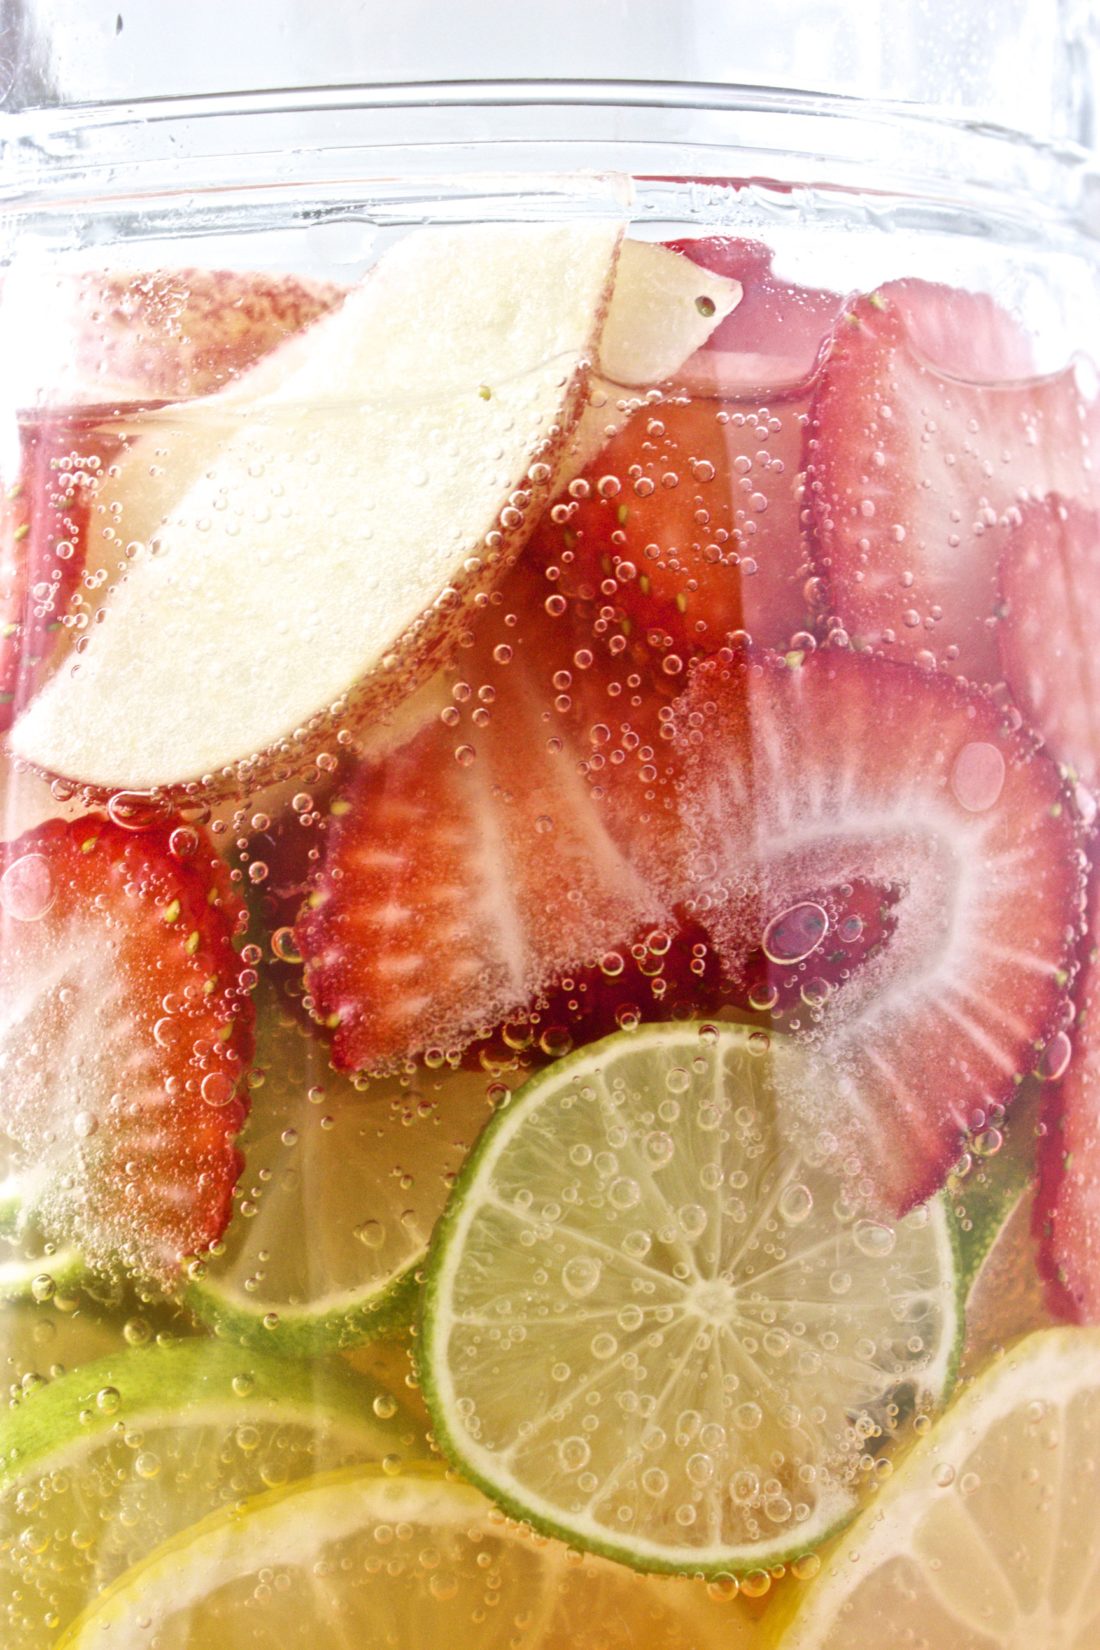
Family Friendly Sangria
read more
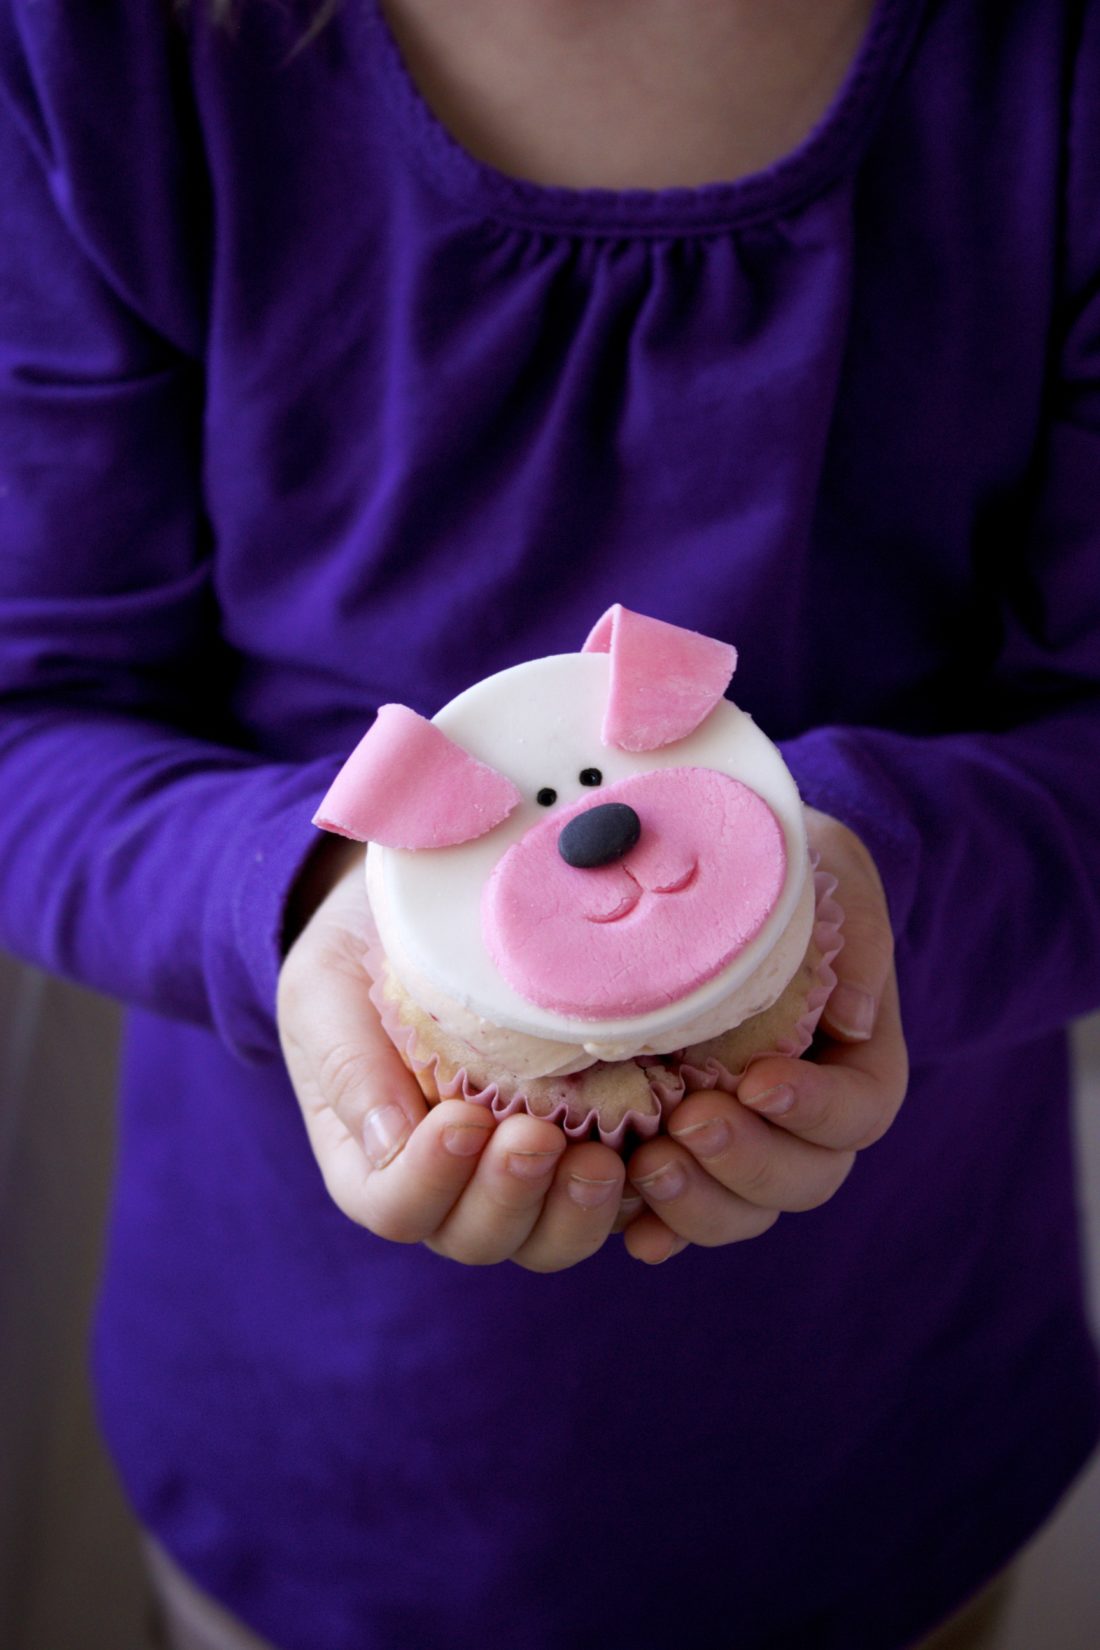
Easy Puppy Cupcakes (How-To)
read more
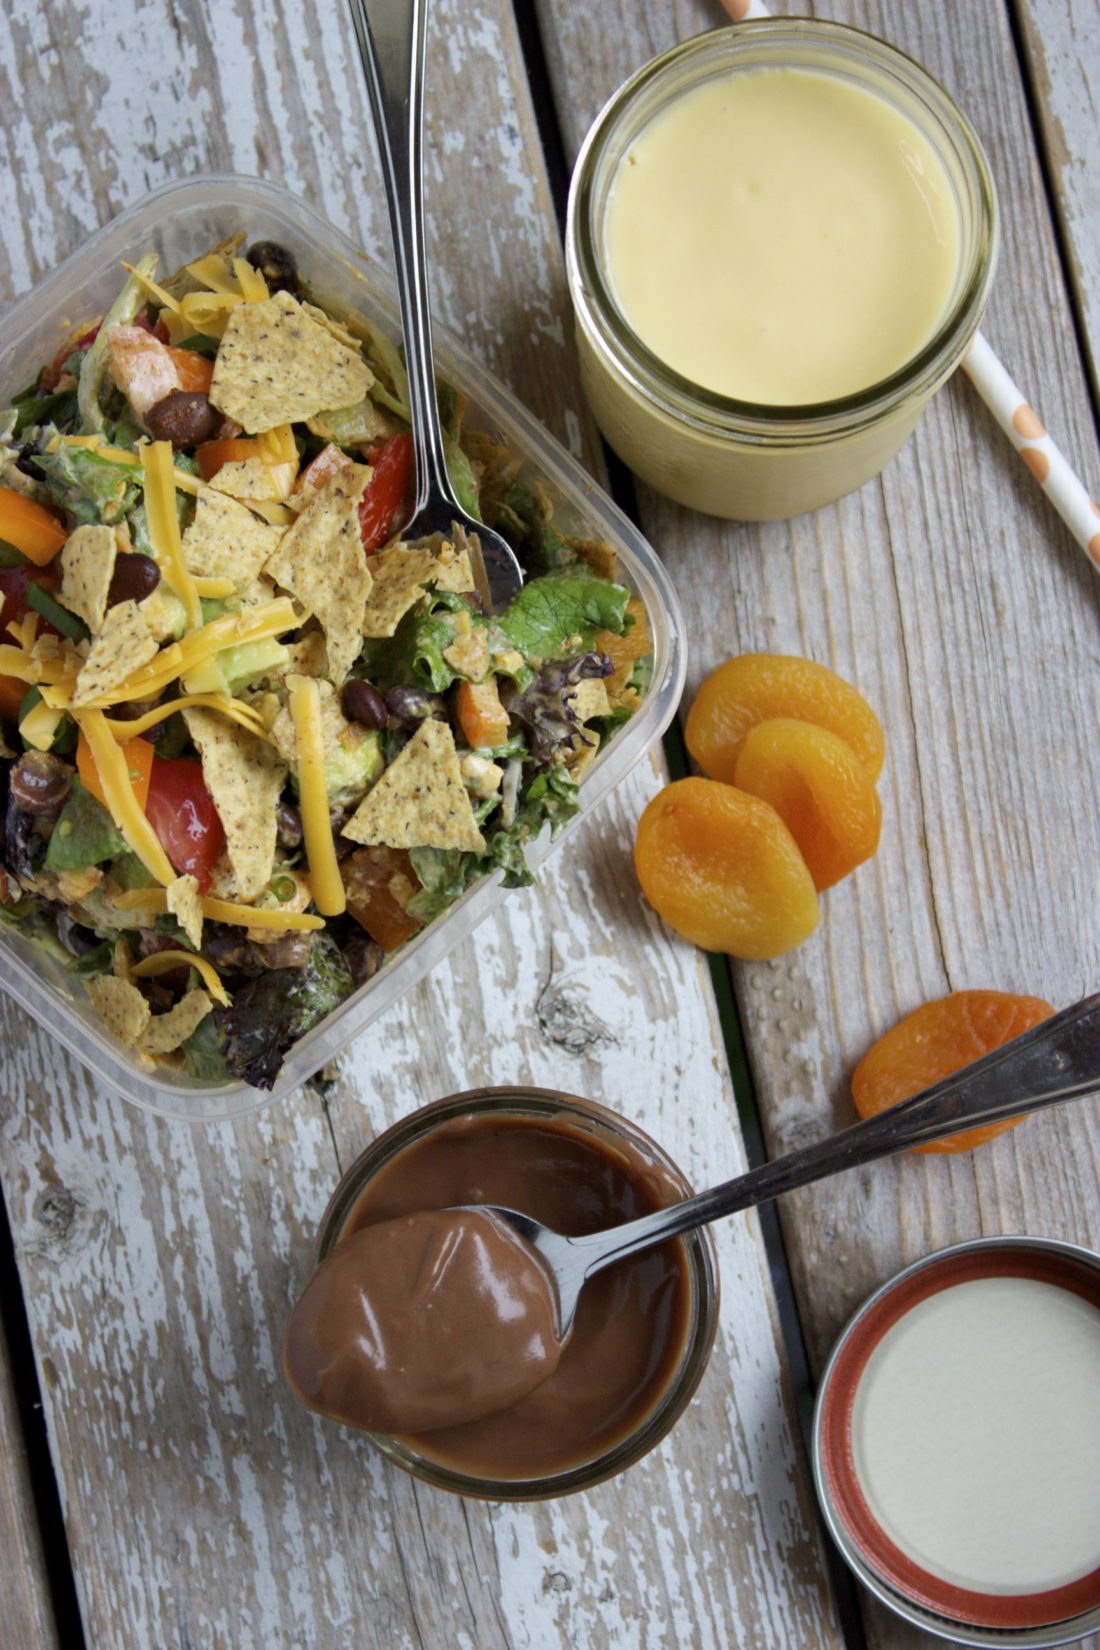
Lunch Box: Taco Salad w/ Sunshine Smoothies & Healthier Pudding Cups
read more
Next