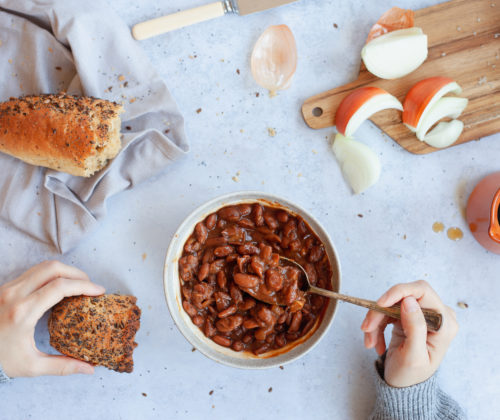
Maple Baked Beans October 6, 2018 Posted In: Dairy Free | Freezer Friendly | Grilling | Homemade | New Post | Recipes | Sides 'Tis the season for comfort food. I didn't think I would be ready for colder weather. But with the autumn colours finally star[...] Read More
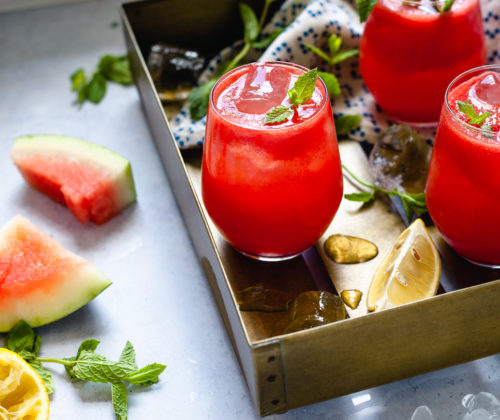
Watermelon Lemonade July 16, 2018 Posted In: Beverages | Dairy Free | New Post | Recipes London has been having a major heatwave this year. And as a result my family has been craving watermelon like crazy. I mean, i[...] Read More
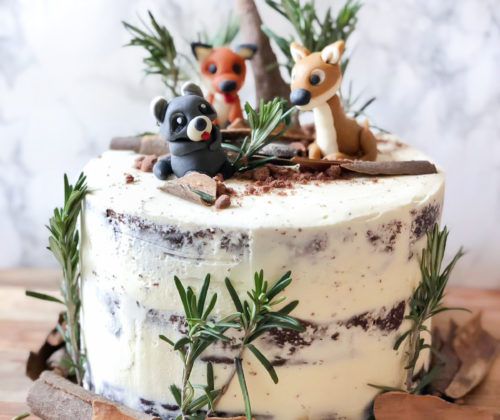
Woodland Animals Cake March 14, 2018 Posted In: Cake | Dessert | Kids | New Post | Recipes I made this woodland birthday cake a while ago for my daughter's 7th birthday. She absolutely adores animals and nature so th[...] Read More
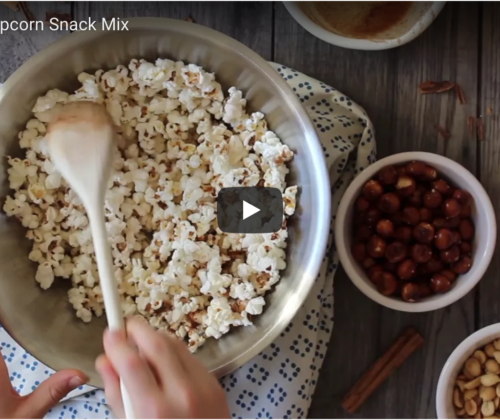
Cinnamon Popcorn Snack Mix December 31, 2017 Posted In: Christmas | New Post | Recipes | Snacks A fun little recipe video that me and my sonny made for New Year’s Eve snacking - Cinnamon Popcorn Snack Mix. It’s super addic[...] Read More
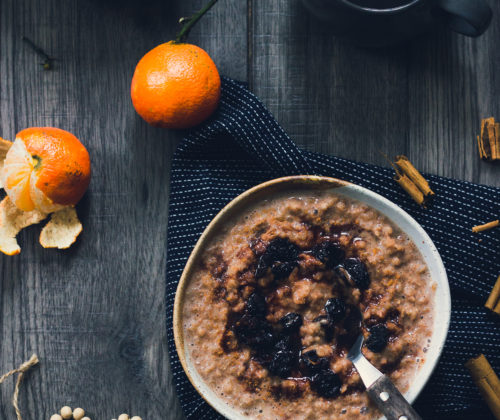
Gingerbread Porridge December 8, 2017 Posted In: Breakfast | Cereals | Christmas | Dairy Free | Holidays | New Post | Processed Sugar Free | Recipes Nothing like a cold snap to make you crave a warm and comforting breakfast with a steamy cup of tea. We've been enjoying this[...] Read More