KS
Kitchen Simplicity
Recipes
Freelance
Category
Breakfast
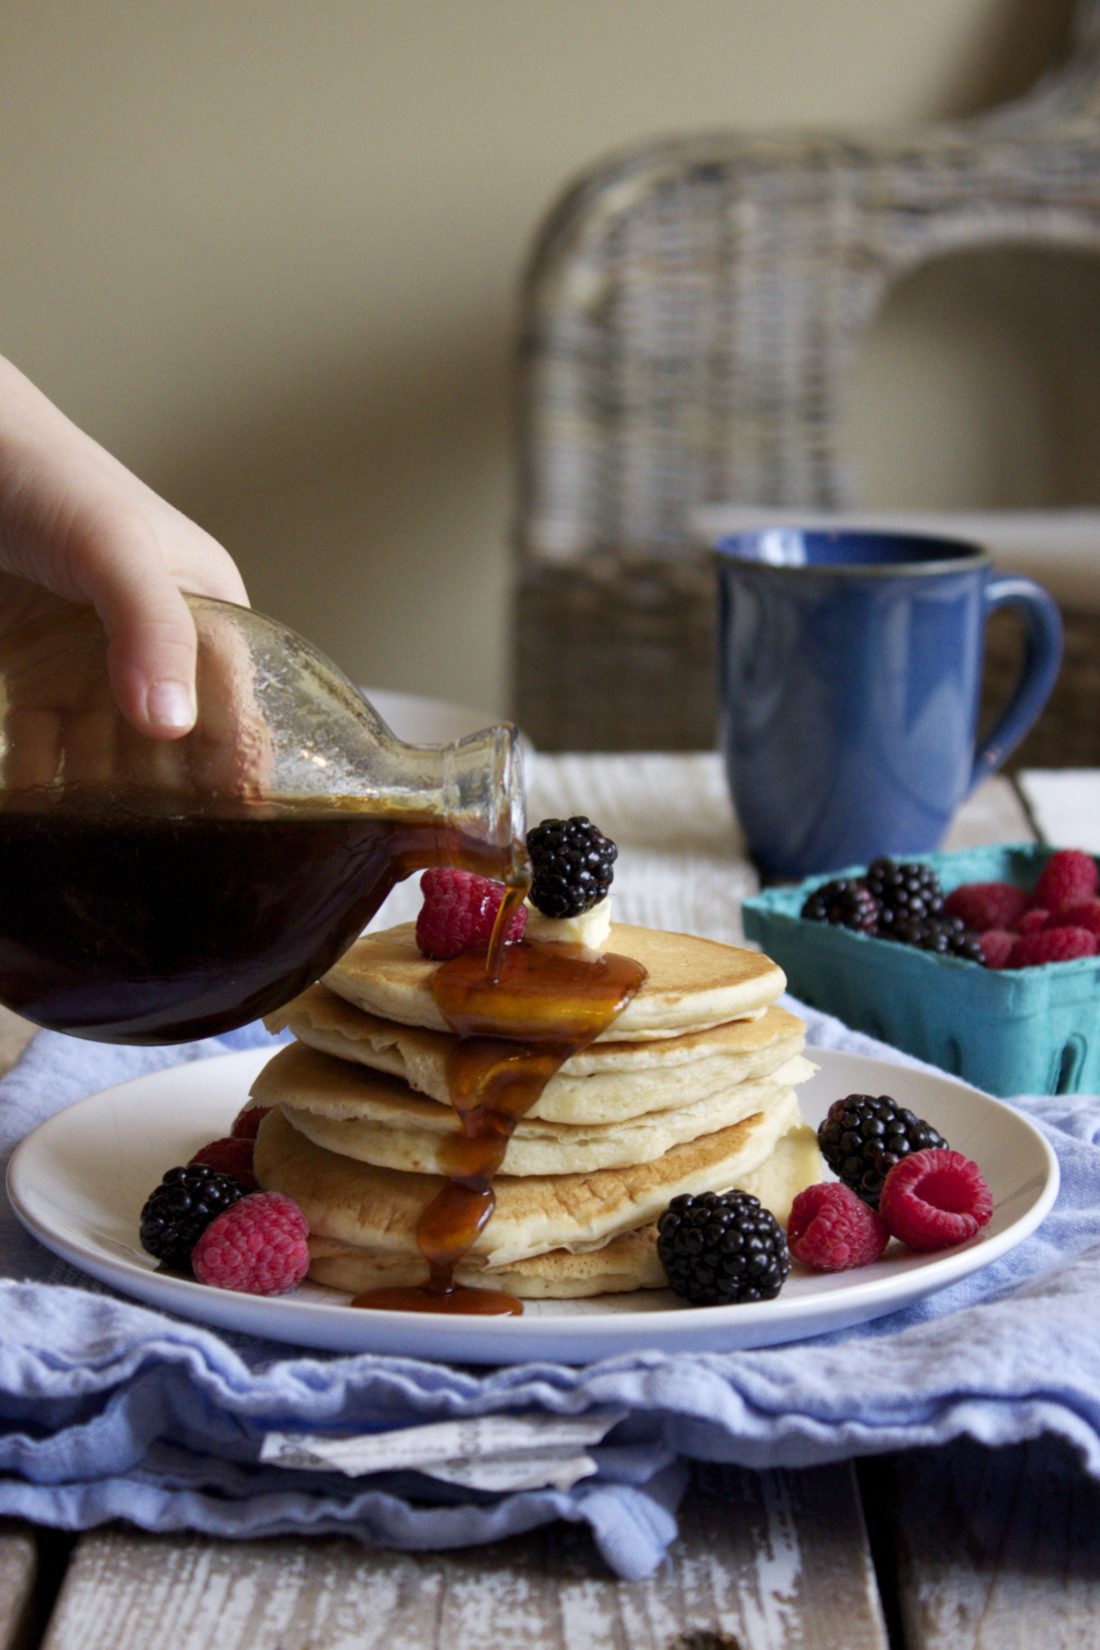
Homemade Butter Flavoured Pancake Syrup
read more
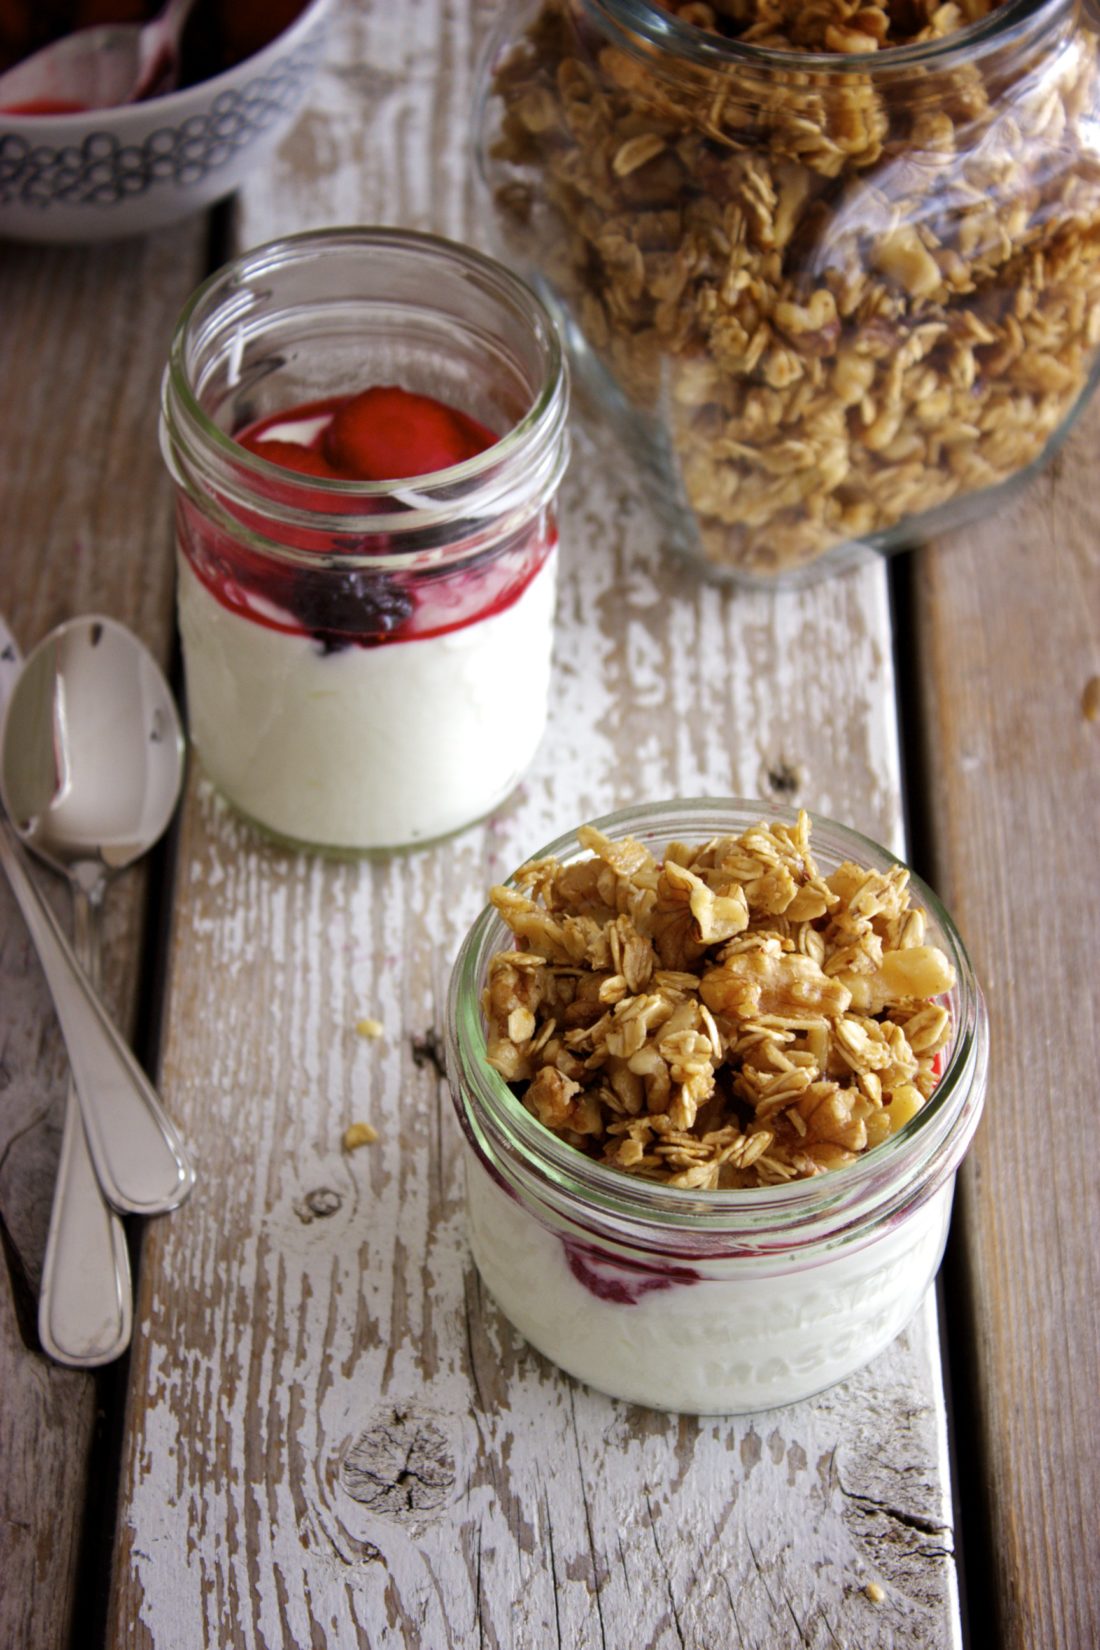
No-Bake Maple Walnut Granola Clusters
read more
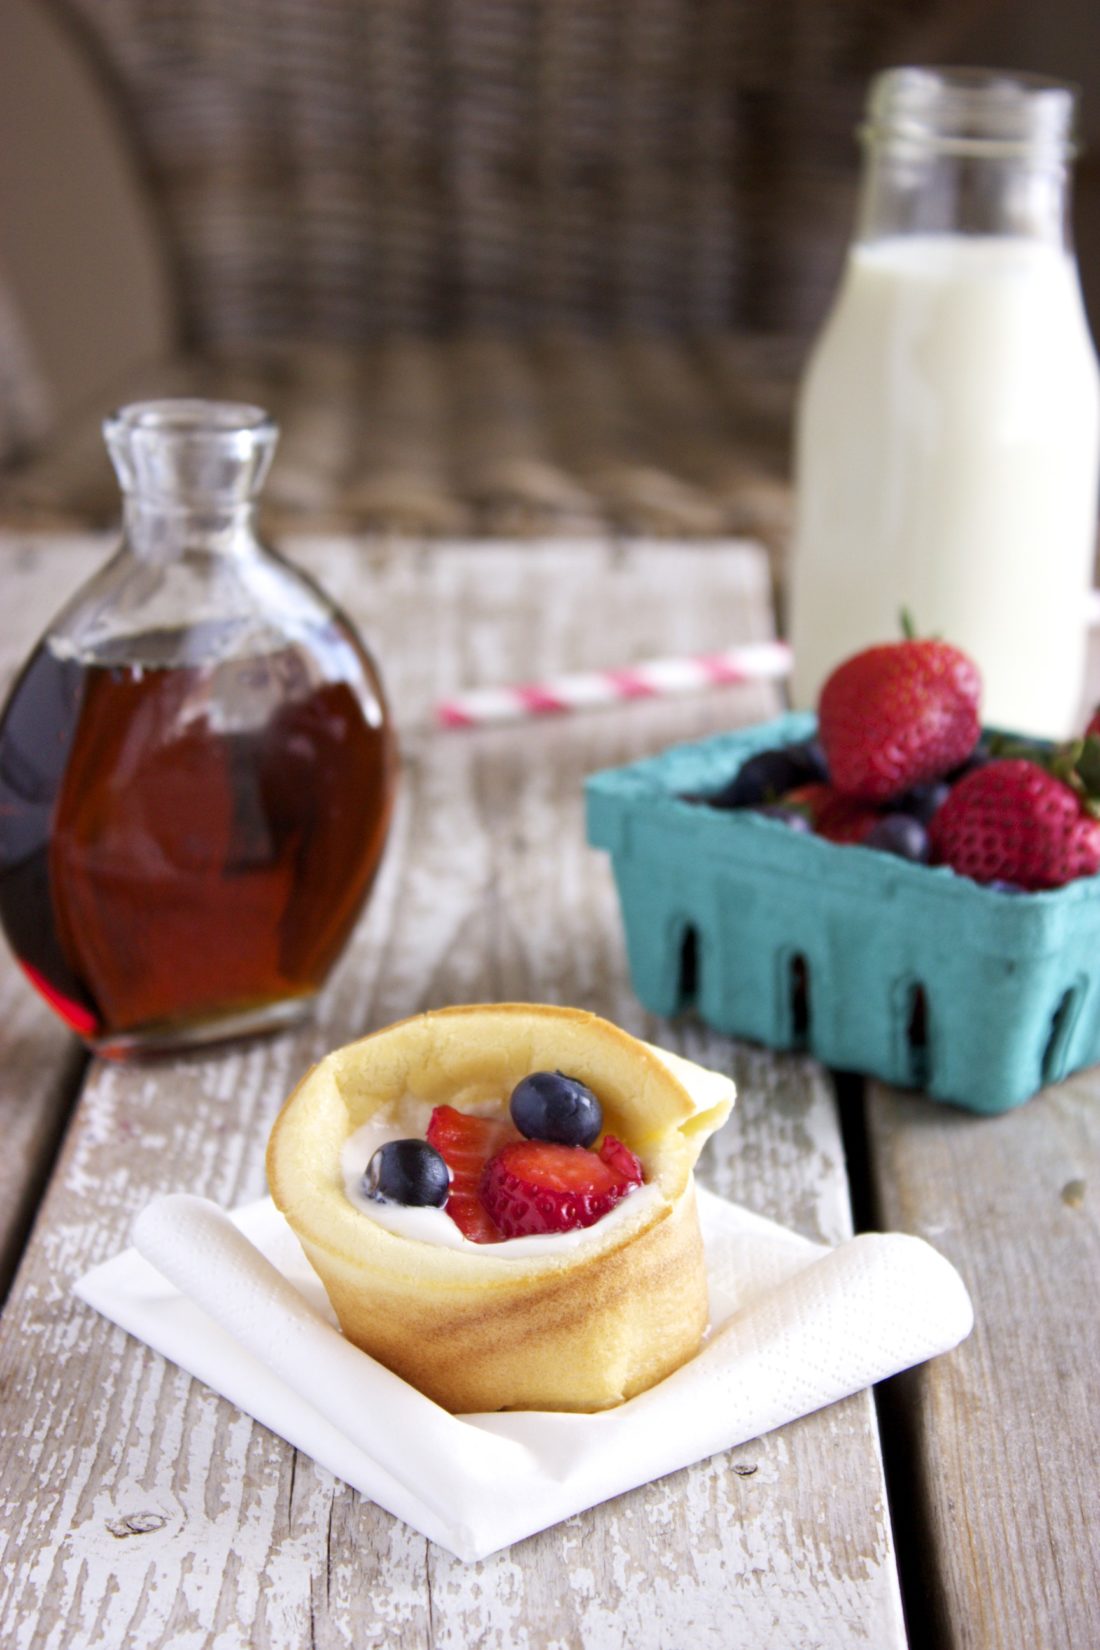
Mini Dutch Baby Berry Baskets
read more
Three Easy Valentine’s Day Breakfasts
read more
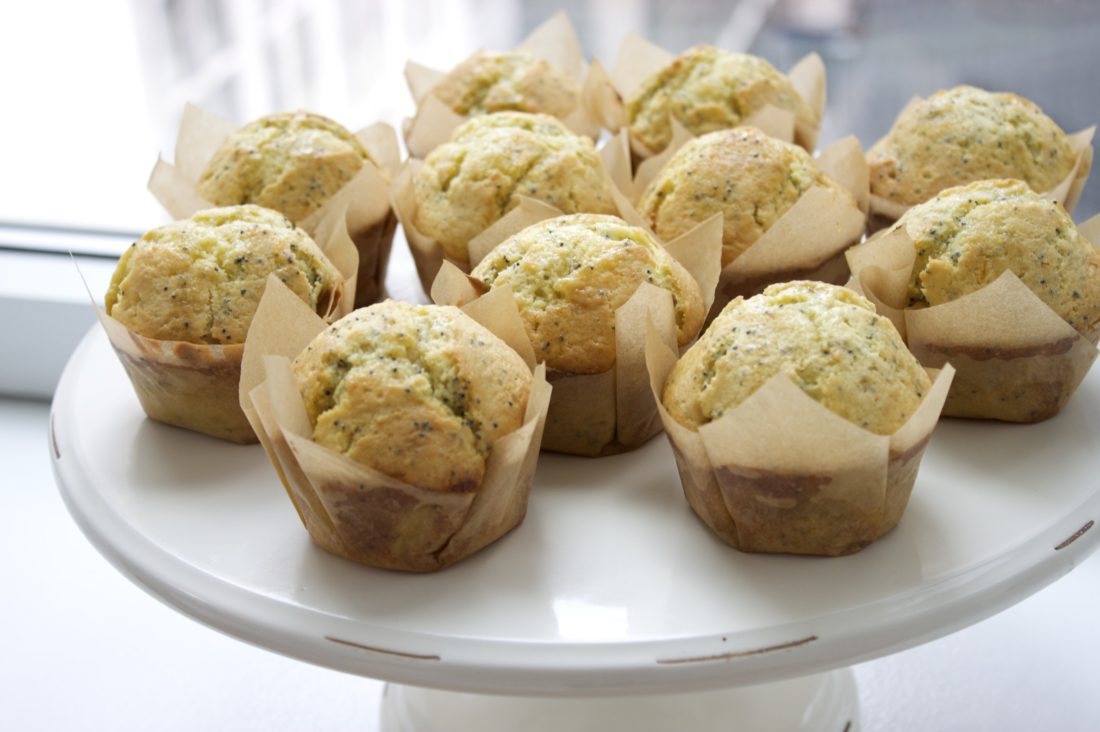
Orange Poppy Seed Muffins
read more
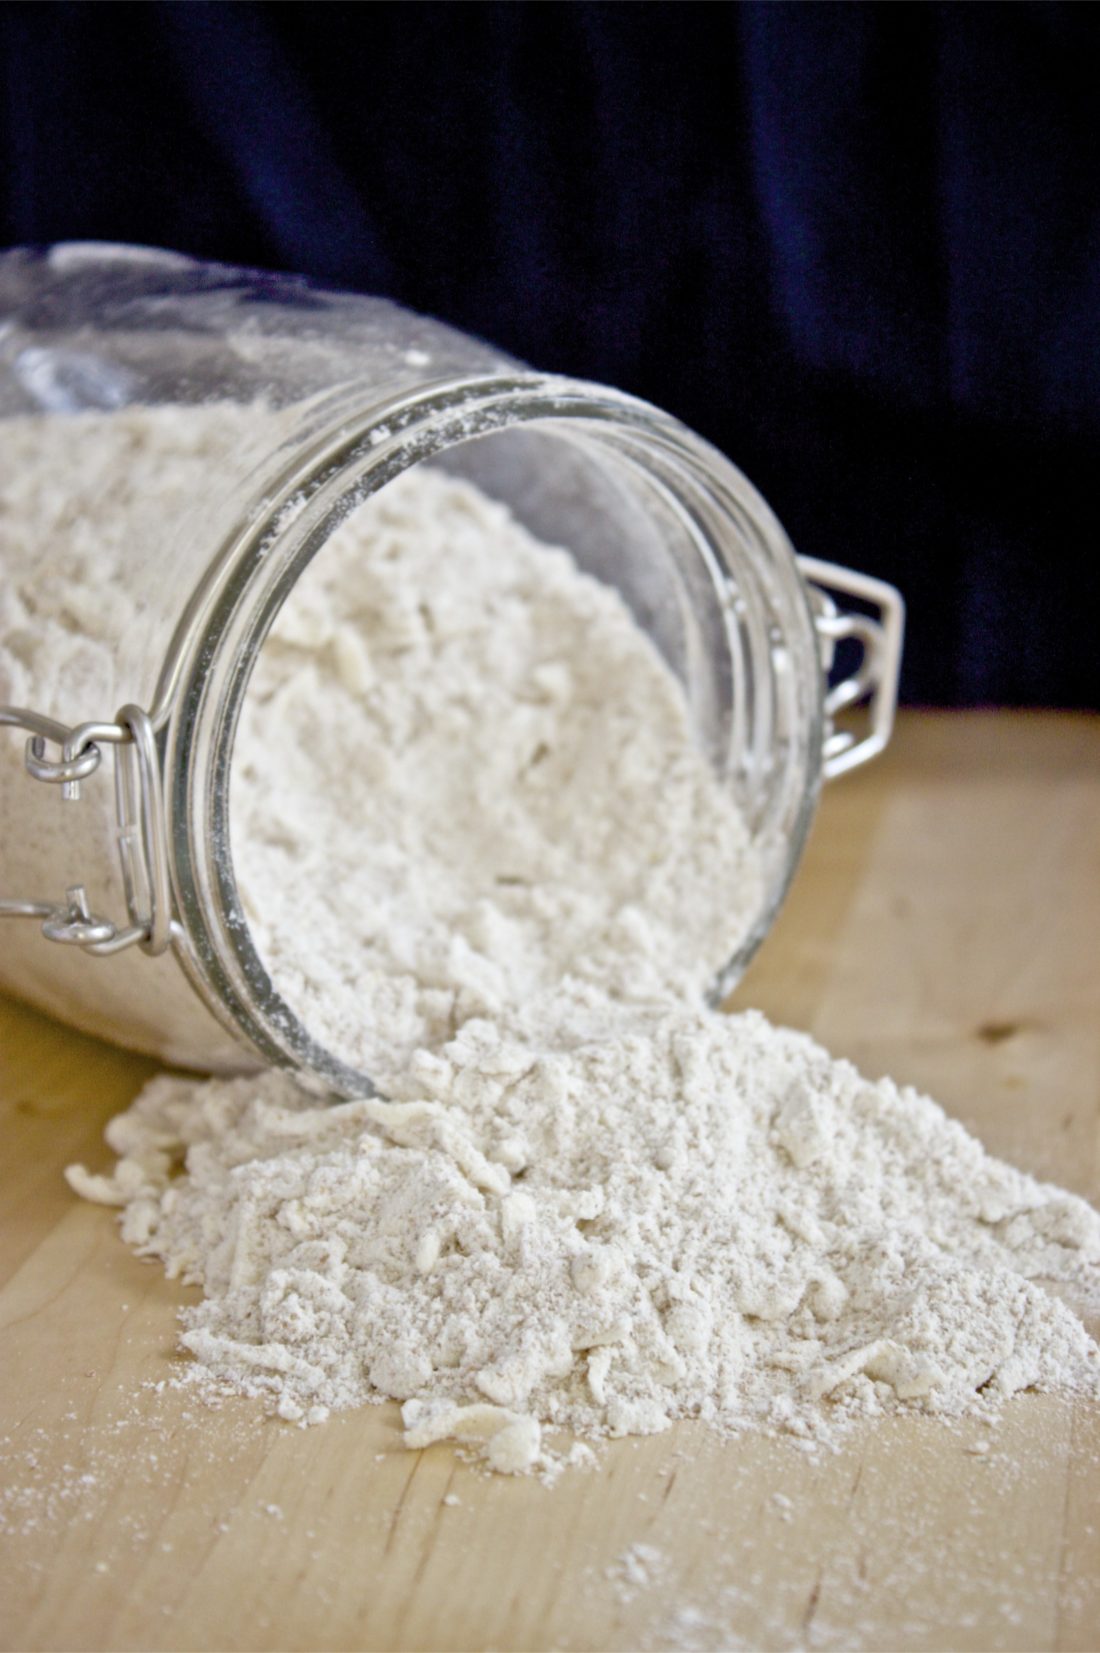
Homemade Baking Mix – Healthified
read more
Quick Ham & Cheddar Quiche
read more
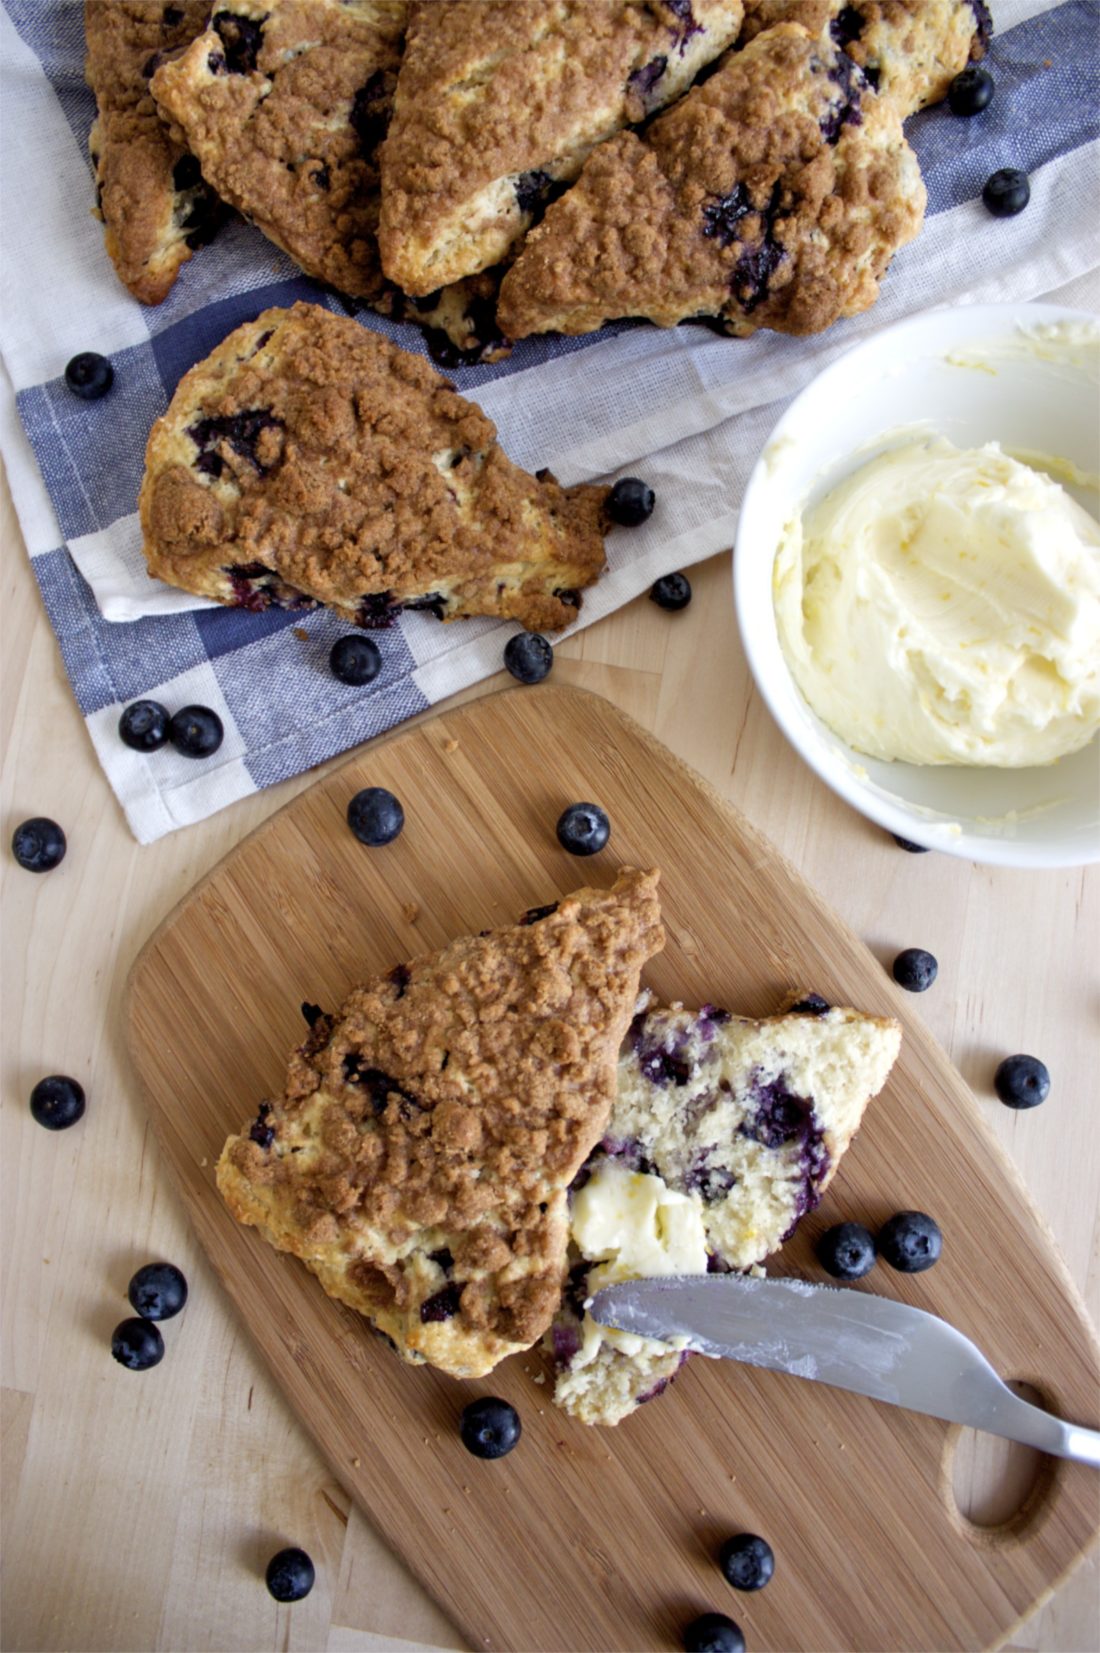
Blueberry Streusel Scones with Sweet Lemon Butter
read more
Double Chocolate Raspberry Muffins
read more
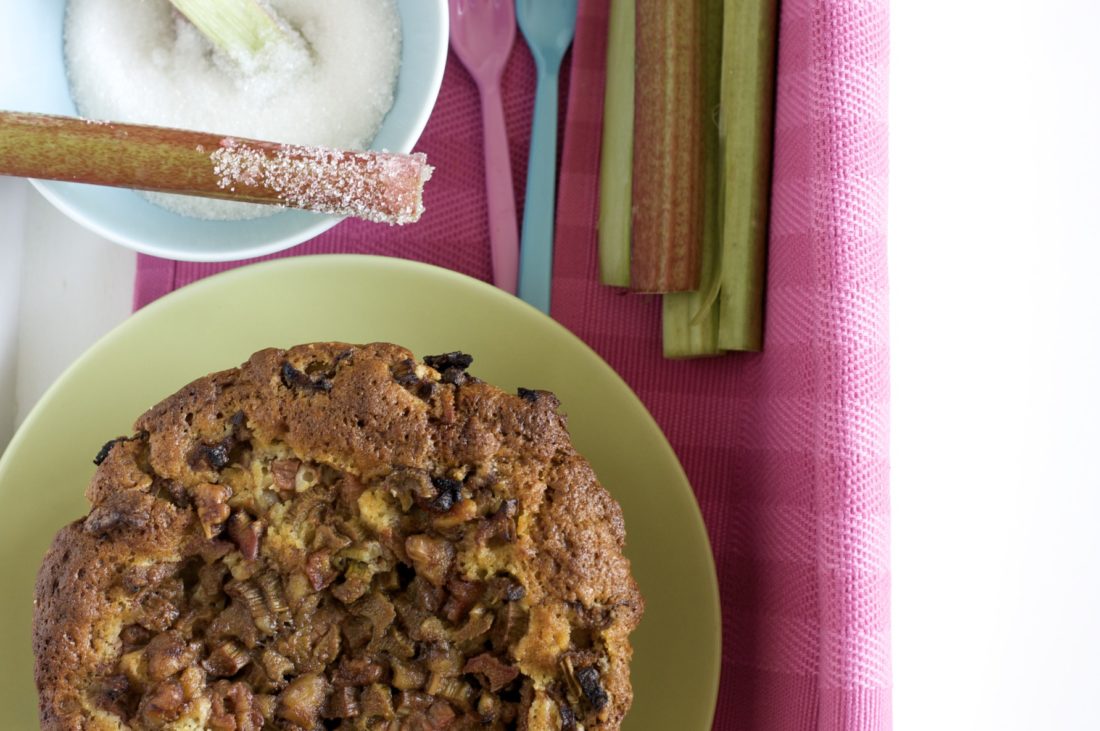
Rhubarb Crunch Coffee Cake
read more
Previous
Next